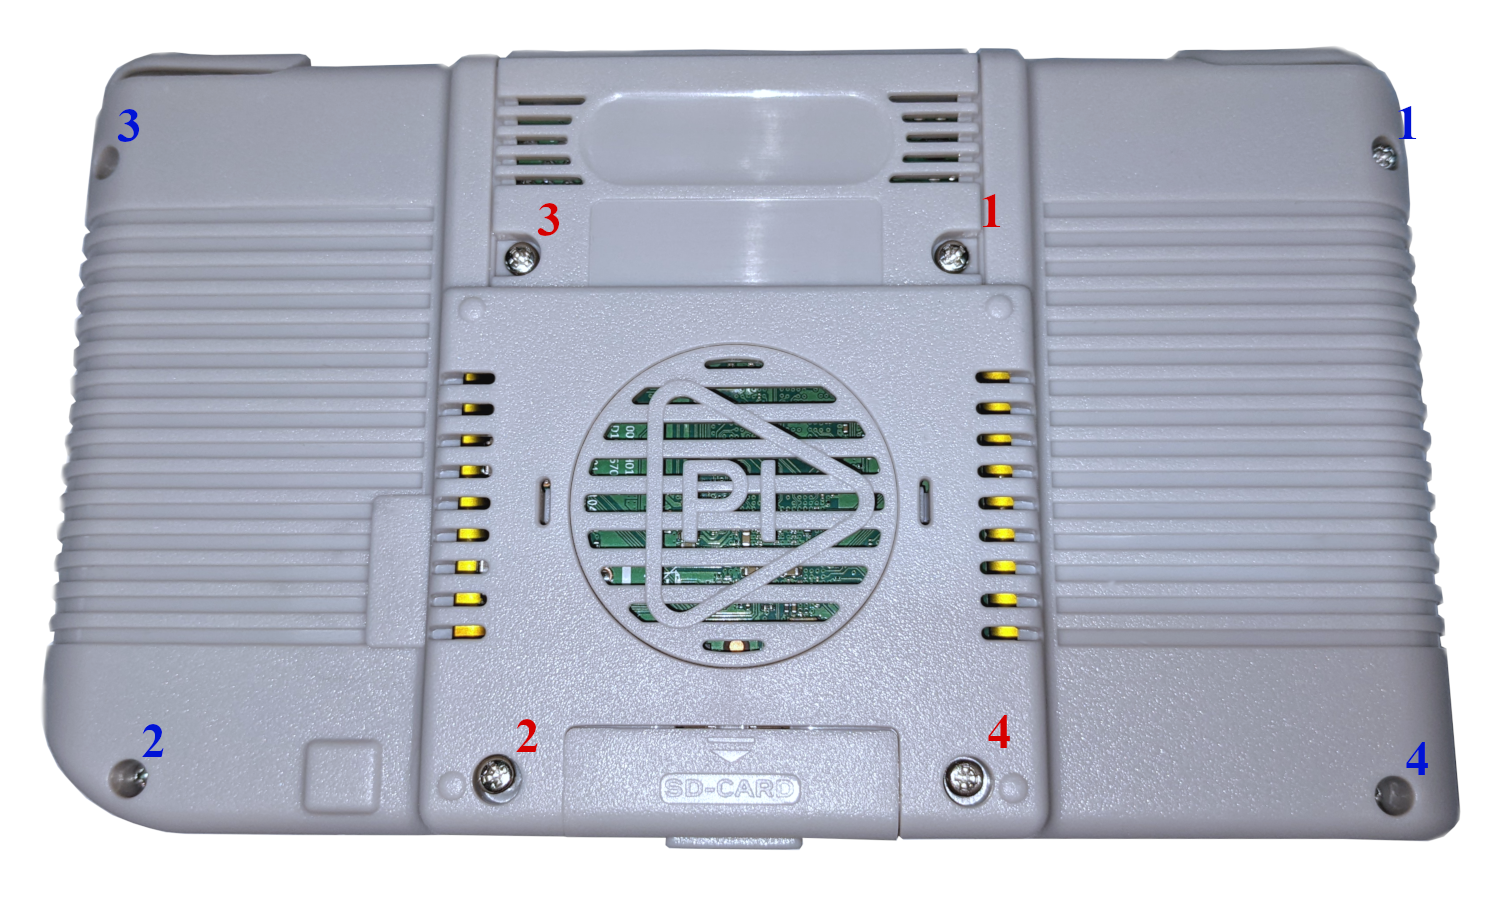
Figure 1: PiBoy XRS and kit
Thank you for purchasing a PiBoy XRS kit. Below are instructions on how to assemble the kit. Before assembly, make sure that all items are present.
- PiBoy XRS
- Screwdriver
- Pi 4 faceplate
- HDMI cover
- Thermal gap filler
- Spare screws - machine screws and plastite screws, 2 each

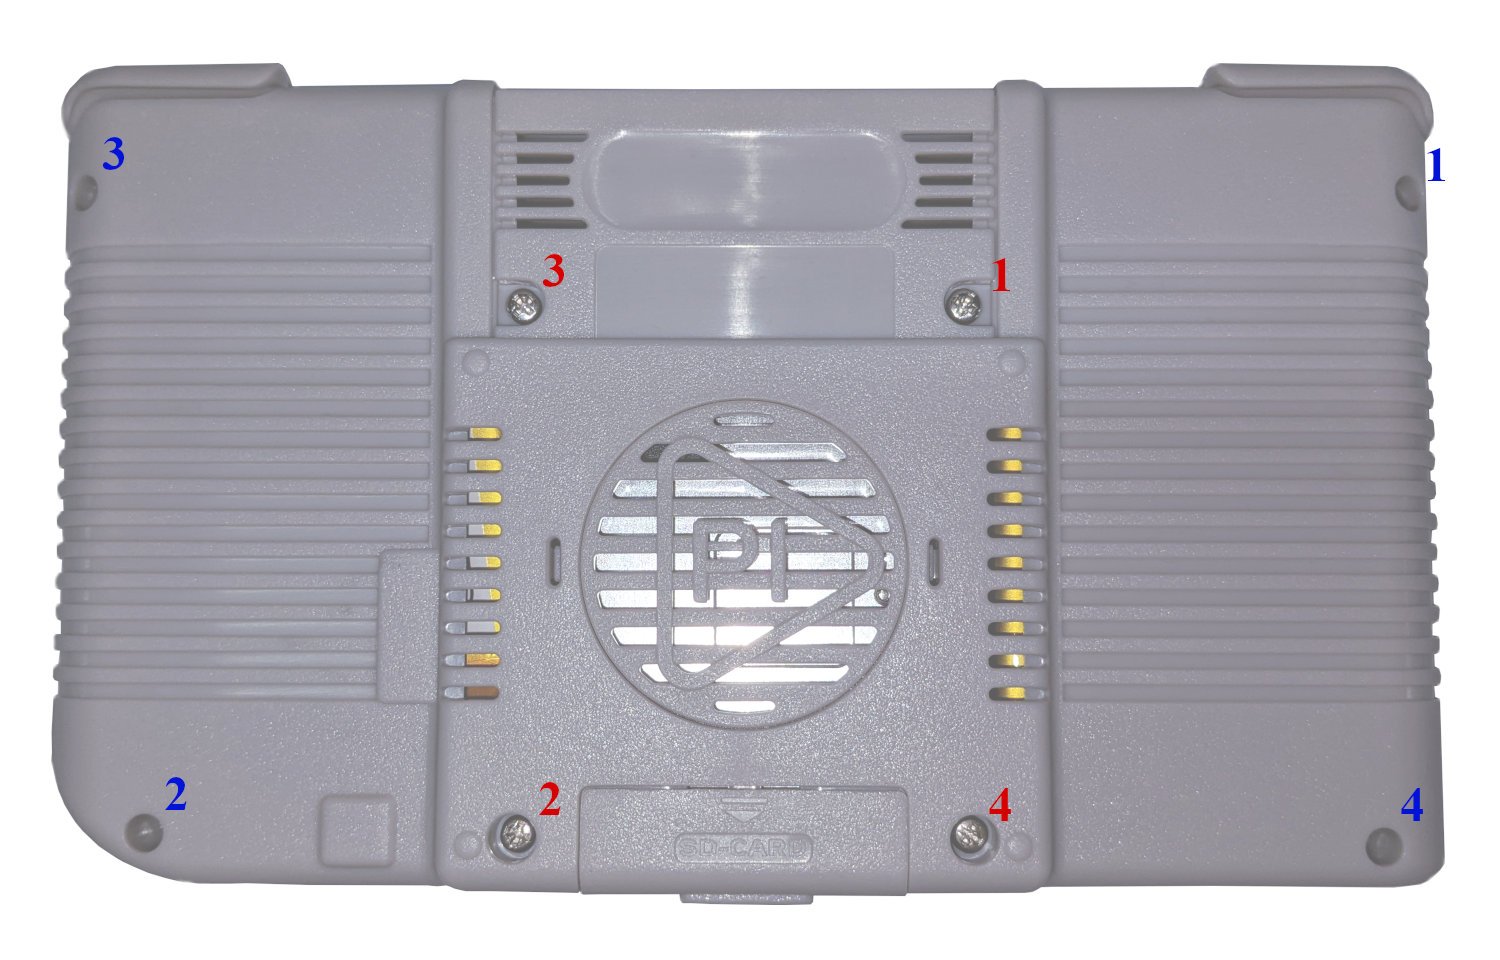
Figure 2: The read of the PiBoy XRS, with all screws labelled
- Start by removing the 8 screws holding together the back of the case, using the provided screwdriver.
- The PiBoy XRS is held together using two different types of screws, which are not interchangeable. Be careful to keep both kinds of screws separate, as attempting to fasten the incorrect type of screw in the wrong hole may cause damage to the device.
- Figure 2 shows the locations of all 8 screws. The screws labelled 1 through 4 in red text are the thicker machine screws, which will thread into the heatsink inside the XRS. The screws on the outer corners, labelled 1 through 4 in blue text, are the thinner plastite screws, which thread into the front half of the case.
- See figure 3 for a closer look at the two types of screws used in the PiBoy XRS.

Figure 3: Two machine screws(top) and two plastite screws(bottom)
- Once all 8 screws are fully removed, you may gently pull off the backside of the case.
- The PiBoy XRS features two shoulder buttons and two trigger buttons, one of each on each side. These are kept in place using small metal rods. Sometimes these rods may stick to the backside of the case when opening the device. Always check for the rods and all buttons, returning them to their position on the front of the case if necessary.

Figure 4: PiBoy XRS after removing the back of the case

Figure 5: The shoulder and trigger buttons held in place by a small metal rod
- Remove the protective film from both sides of the included thermal gap filler material, and place it on the square indent of the heatsink, as shown. Note that the included gap filler material may be a different color from that pictured. Do not substitute the gap filler material with thermal paste or liquid materials

Figure 6: Removing the protective film from the thermal gap filler
- Attach the included faceplate onto the front of the Raspberry Pi.

Figure 7: Raspberry Pi 4 with the provided faceplate
- Align the pins of the Raspberry Pi with the header on the PCB, and gently press down, ensuring that the Raspberry Pi is firmly and properly connected, and the board is resting atop the heatsink. The SD card does not need to be inserted at this stage, the SD card slot on the Raspberry Pi is accessible once the unit is fully assembled.

Figure 8: The Raspberry Pi properly connected to the header on the XRS board
- Place the HDMI faceplate into the slot on the case. All PiBoy XRS units include the standard solid faceplate. When placing the faceplate, make sure that the groove on the outside lines up with where the seam of the case will be once it is assembled.
- If you have purchased the optional HDMI adapter, you will instead use the faceplate included with the adapter.

Figure 9: HDMI cover plate with the groove aligned to the case
- Plug each of the two batteries in to their respective connector.

Figure 10: One battery plugged in

Figure 11: The second battery plugged in
- Gently replace the backside of the case.
- Before fastening any of the screws, test the shoulder and trigger buttons to ensure they are functioning properly. If any of the buttons feel stiff or sticky, you may gently move the backside of the case back and forth, until the case and the rods are in a proper position and the buttons no longer feel stiff.
- Match screws to the correct holes on the rear of the case, and fasten them. See figures 2, 3, and 12 for reference. The PiBoy XRS is held together using two different types of screws, which are not interchangeable. Attempting to fasten the incorrect type of screw in the wrong hole may cause damage to the device.
- Insert the screws into the correct holes, without yet tightening them. The 4 thicker machine screws are to be placed in the innermost 4 holes, which are labelled with red text. The 4 thinner plastite screws belong in the outermost corners of the case, and are labelled in blue text.
- Begin by tightening each of the machine screws about one turn, then continue tightening them in an X pattern. It is recommended that they be tightened in the ordered they are numbered.
- While tightening the screws, periodically test each trigger button to ensure that they are still positioned correctly and do not feel stiff or stuck. If any button begins to feel stiff, you may slightly loosen the screw and gently shift the back of the case back and forth until the button produces the desired sound and feel.
- Following the same process, fasten the 4 plastite screws in the outer corners of the case. Turn each screw about 1 full turn, before tightening them in an X pattern, in the order they are numbered. Be sure to continue testing the buttons during this process.

Figure 12: The rear case of the XRS after replacing, before tightening any screws
- Check the seams of the case to ensure they line up correctly and there are no unusual gaps. Gaps can typically be fixed by tightening the closest screw further, but may require some adjustment of the case. In some instances, it may be easier to slightly loosen the screws before trying to shift the case, and once again tightening the loosened screw until the halves of the case sit flush with each other.

Figure 13: The SD door is removed
- The PiBoy XRS is now fully assembled. You may now remove the SD card door and insert your SD card with a compatible image installed. Make sure to always use a high quality micro SD card.
Article last updated on: 21 Oct 2022
