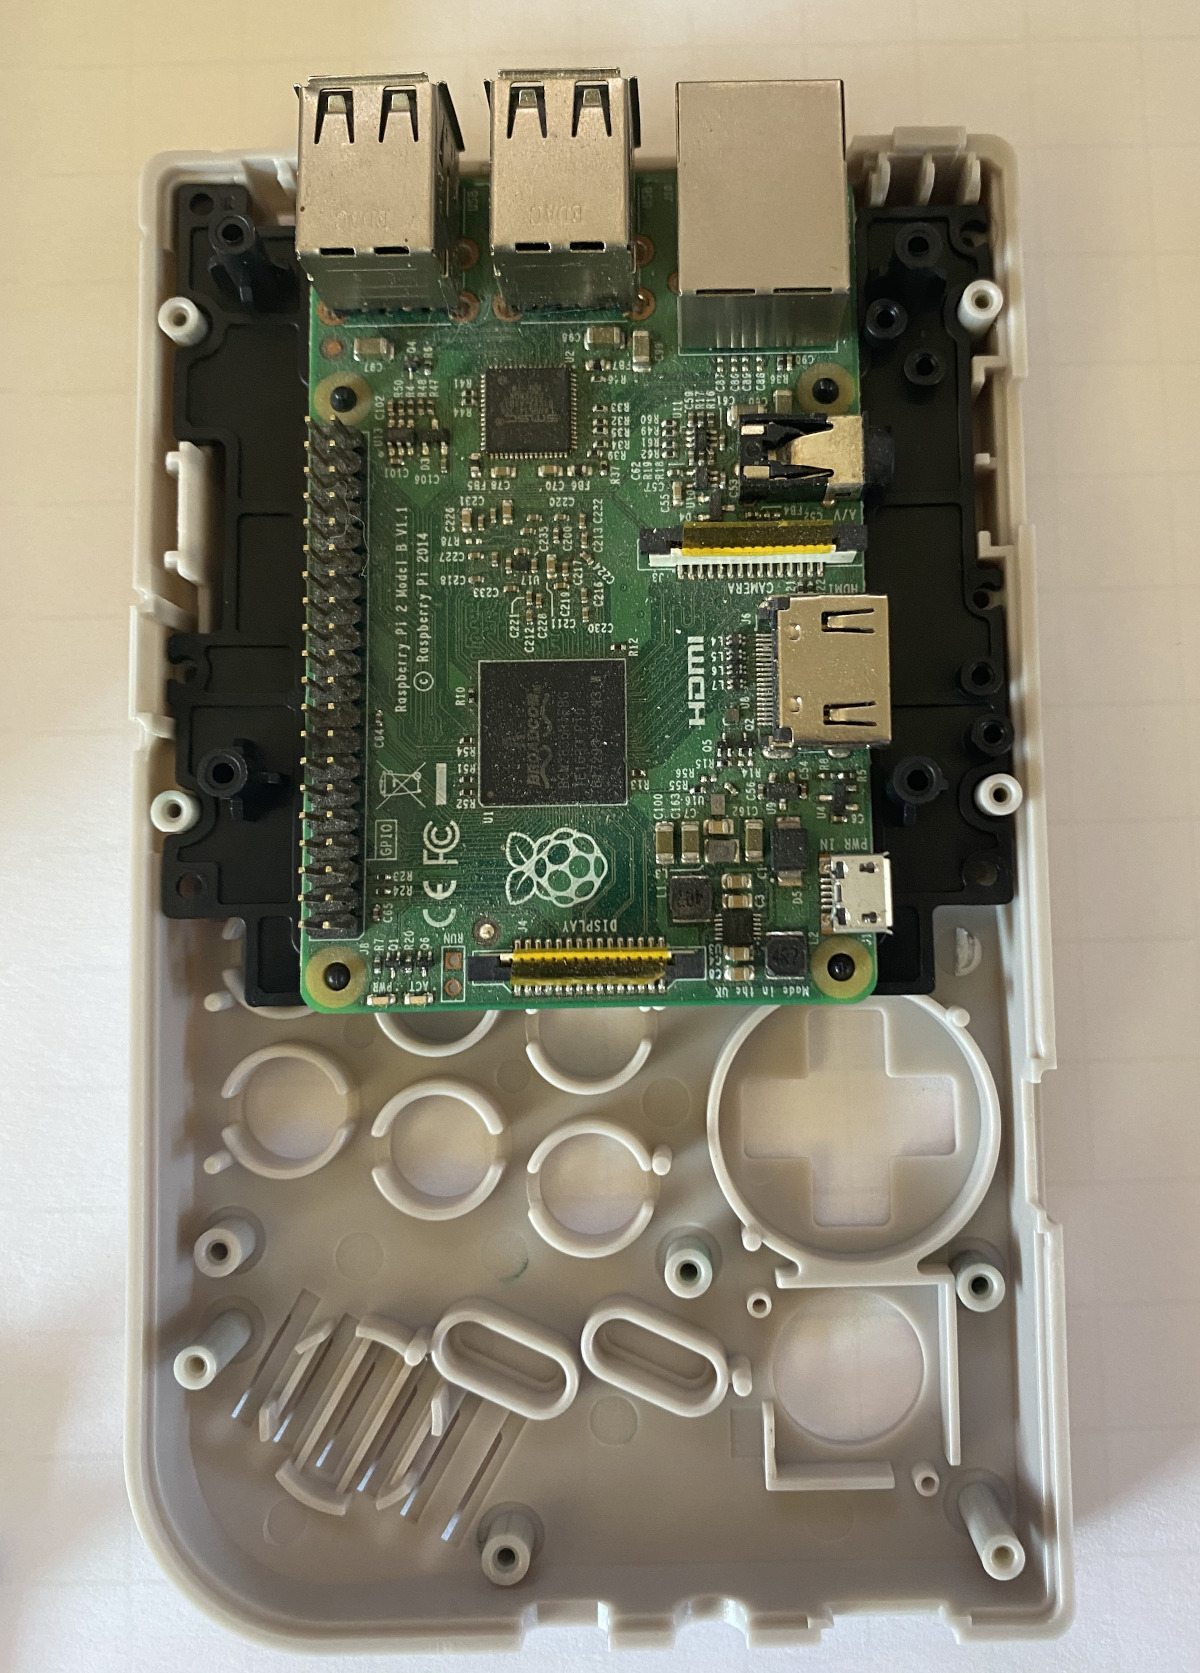
Figure 1: A Raspberry Pi installed in the front case half.
The final round of production parts have arrived at the Experimental Pi office. From here we’ll begin assembling and shipping out the first round of PiBoy DMG pre-orders. The pictures below show the internals of the PiBoy as well as what certain parts such as buttons look like.
The image below shows the final buttons and case halves. The silk screening on the front case half is what the the shipped PiBoy DMG will feature.
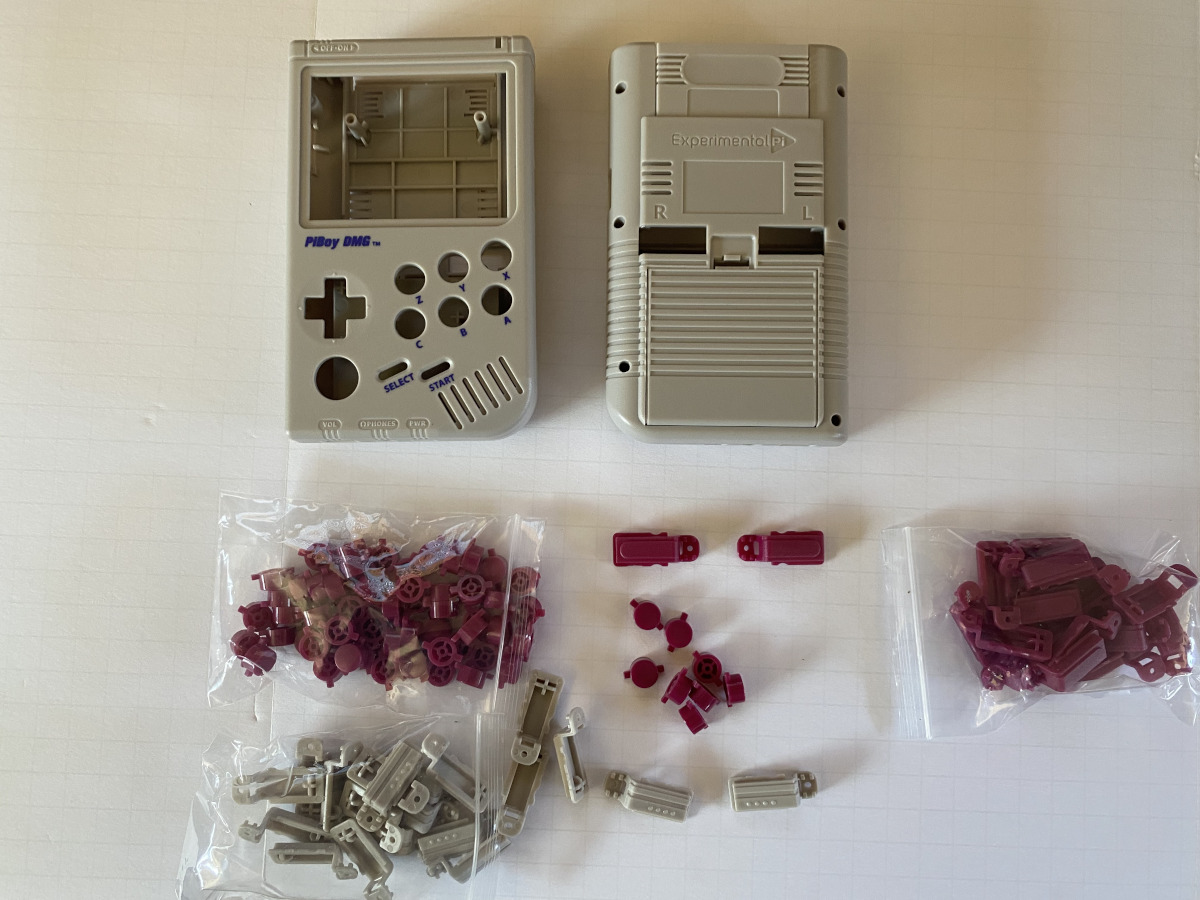
Figure 2: A look at the case and buttons.
The grey shoulder buttons in the image below come in two forms: a flat style that is installed by default and a raised version that can be installed as an option.
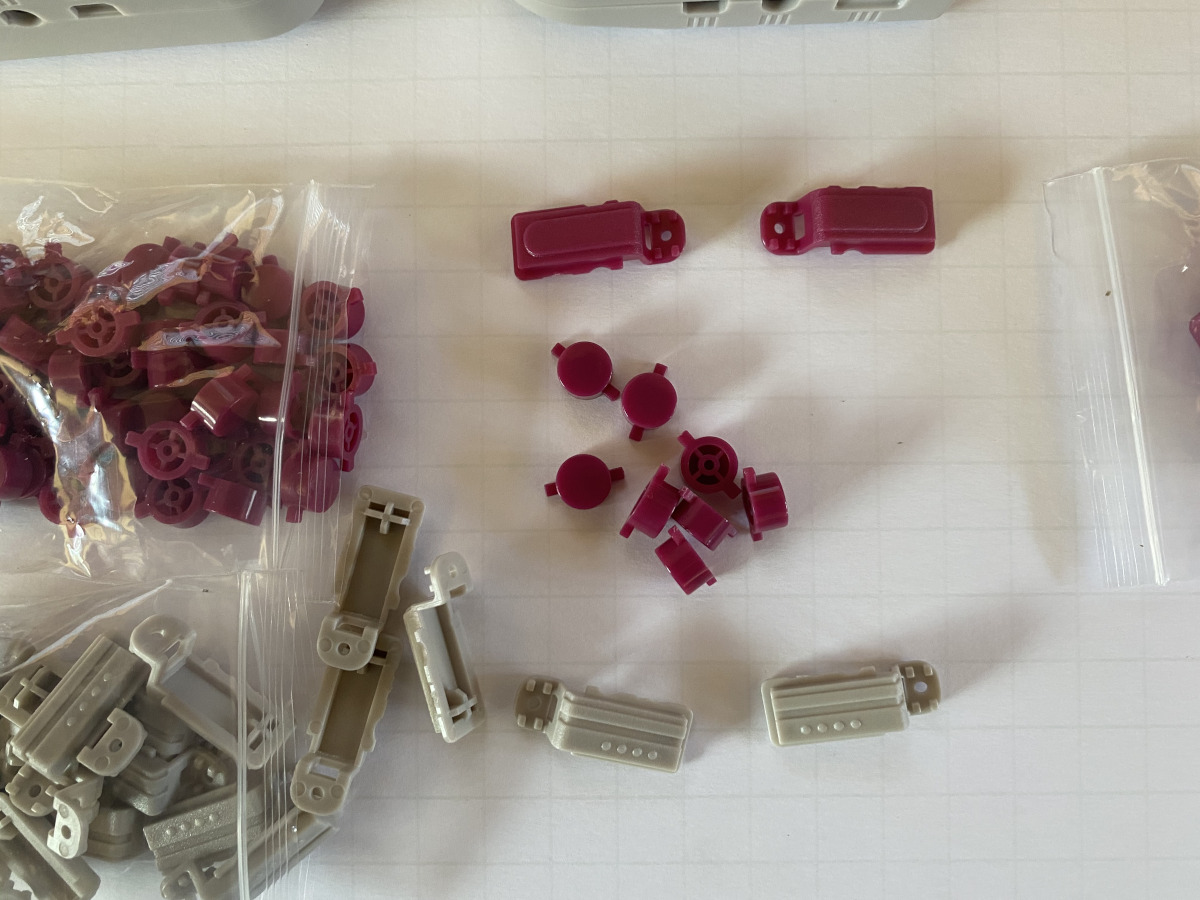
Figure 3: The buttons for the PiBoy DMG.
The black rails pictured are used to install the Pi in to the PiBoy DMG case. They also double as a support for the IPS screen.
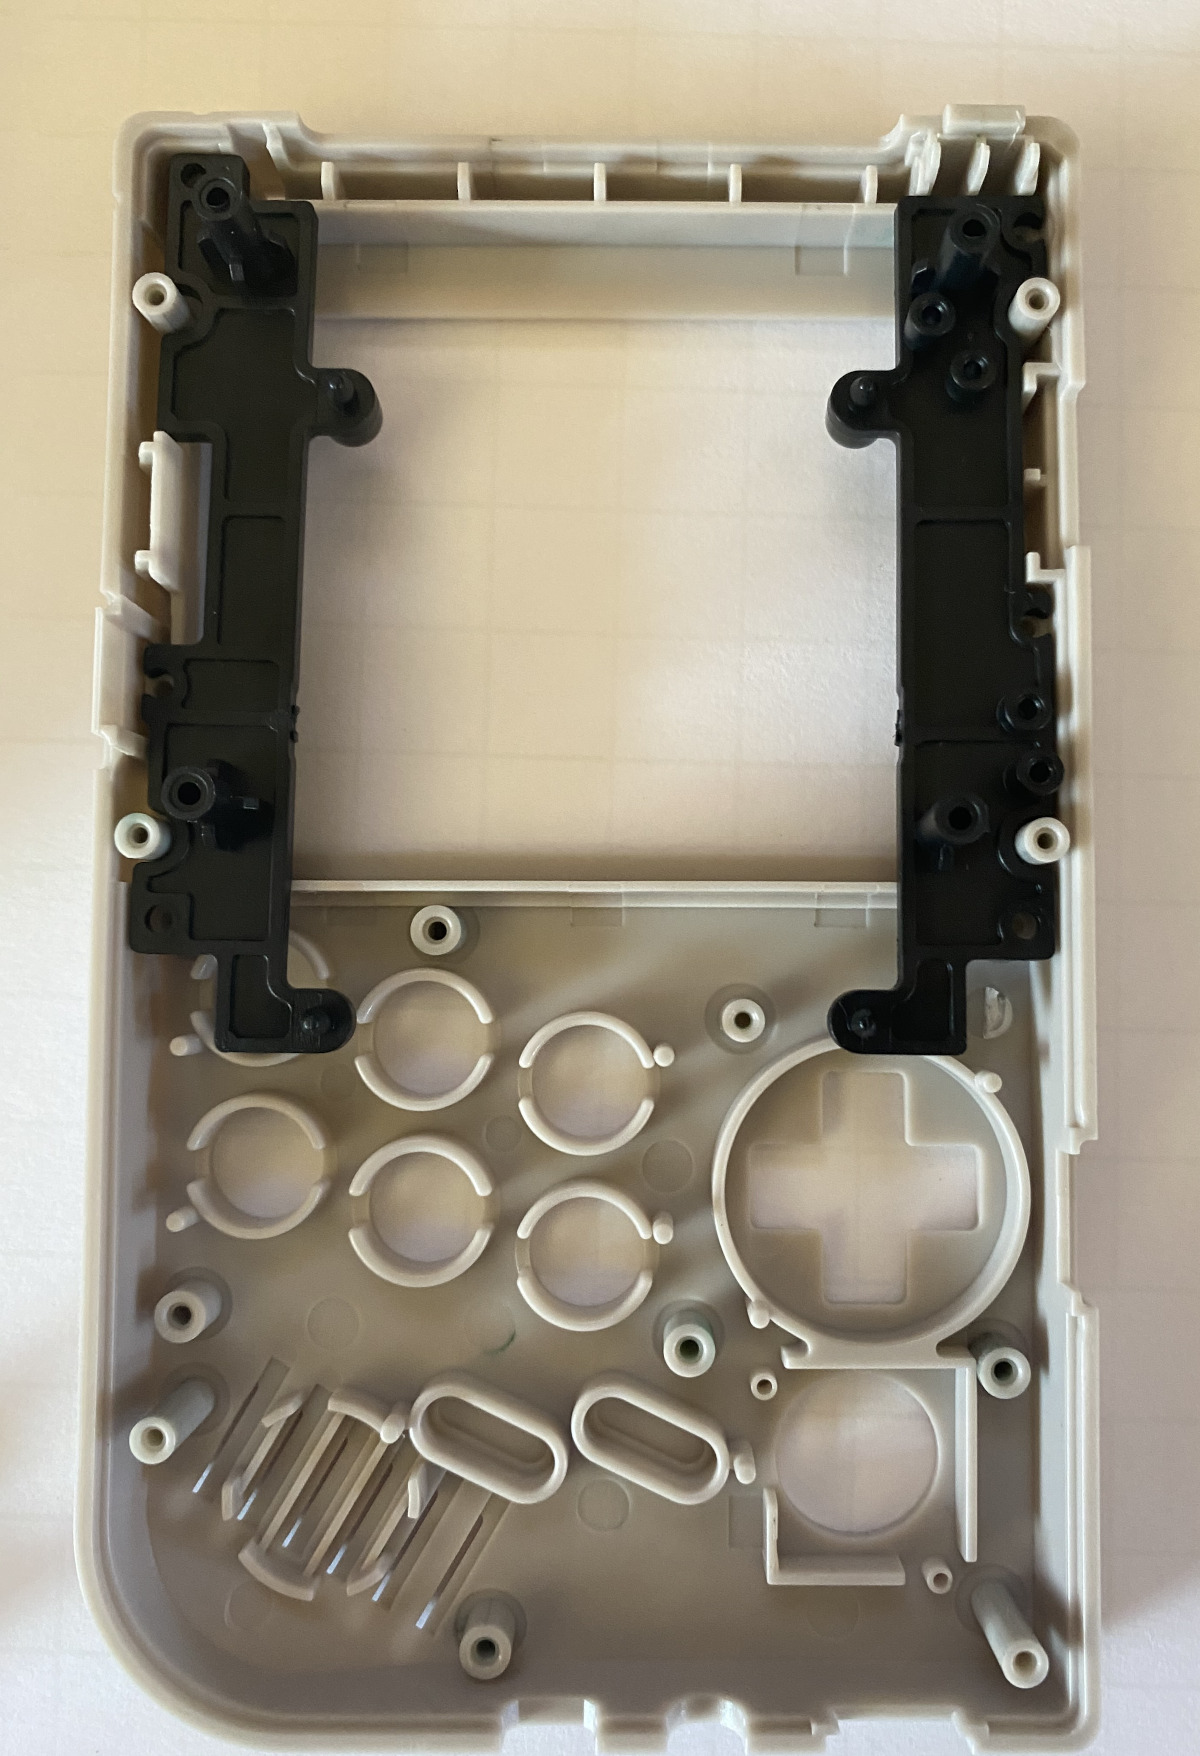
Figure 4: Inside the front case half.
In the image below a faceplate is attached to the port side of a Raspberry Pi. The PiBoy DMG kit includes faceplates for the Pi Zero, Pi 3B+ and Pi 4. You can also see that the connectors and ports of the Raspberry Pi are easily accessible once the Pi has been installed in the case.
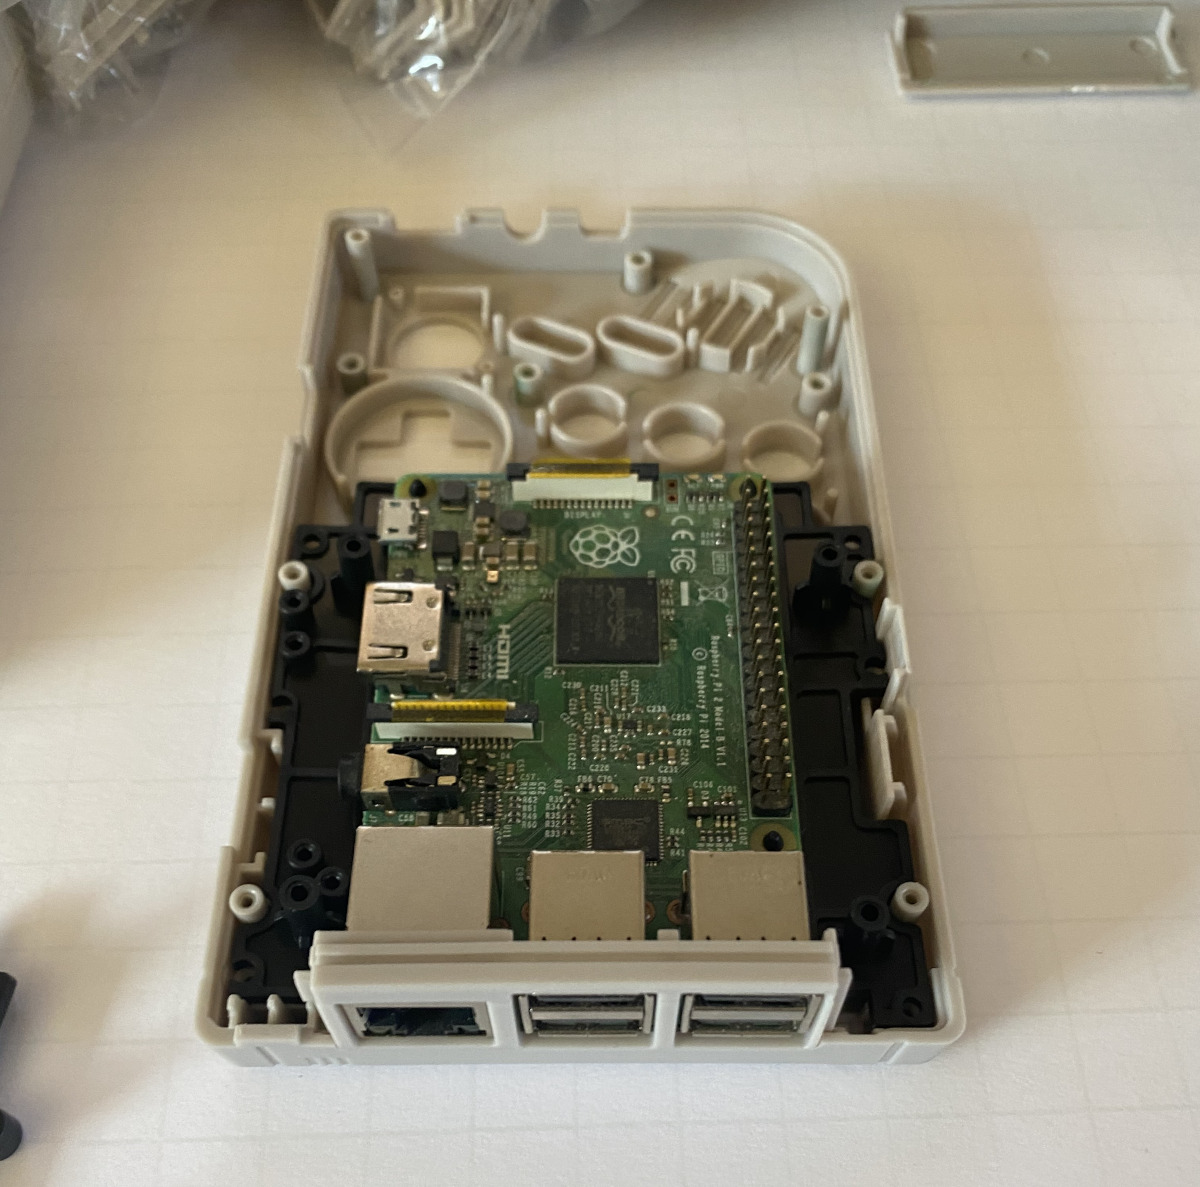
Figure 5: Another look at a Pi inside the case.
