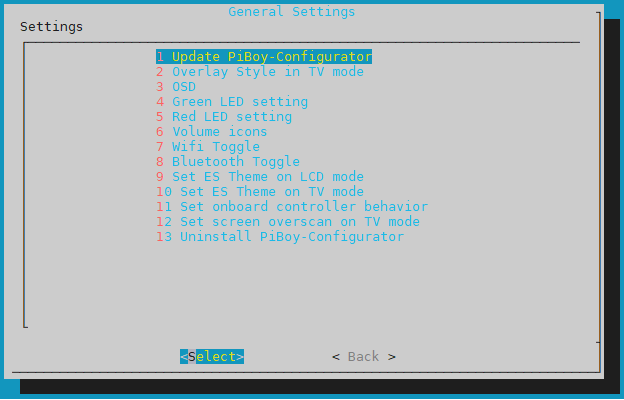
Figure 1: PiBoy Configurator menu
As we've covered before, PiBoy Configurator is a helpful tool by Nicolas Ciezki for configuring your PiBoy DMG.
In this article we give a brief overview of how to use it to customize your experience.
To begin, you will need to install PiBoy Configurator. Instructions on how to do so can be found on the readme file for the project.
To install it, you will need to start by either connecting to your PiBoy via SSH, or by copying the directory to the PiBoy via SFTP.
From SSH, or with a keyboard plugged in to the PiBoy, use cd to change to /home/pi/PiBoy-Configurator, and then use the following command; sudo python install.py
Once installed, PiBoy Configurator can be accessed via the retropie menu.
- Update PiBoy-Configurator this updates the program to the latest version. Requires internet connection
- Overlay Style in TV Mode Allows you to change the overlays used when in HDMI mode. These overlays are recommended for use with PiBoy Configurator.
- OSD lets you choose which icons you want to be shown at the top of the screen.
- Green LED Settings Choose the percentage brightness for the green LED.
- Red LED Settings Choose the percentage brightness for the red LED.
- WiFi and Bluetooth Toggle Choose whether WiFi or Bluetooth are enabled depending on the mode.
- Select ES Theme on LCD Mode Lets you select which theme to use.
- Select ES Theme on TV Mode Lets you select a different theme for use in HDMI mode.
- Set Onboard Controller Behavior Select if the onboard controller should be enabled in HDMI mode.
- Overscan on TV Mode Enable and set overscan when used in HDMI mode.
- Uninstall PiBoy-Configurator Uninstalls Piboy Configurator.
Article last updated on: 23 Nov 2021
