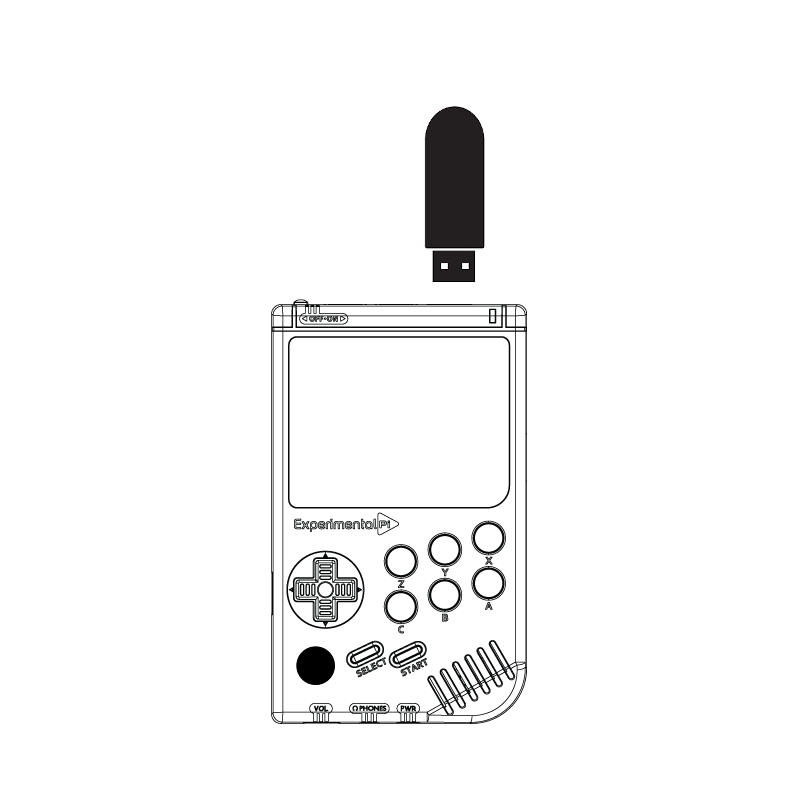
Figure 1: The PiBoy’s operating system can be booted from a USB drive.
The PiBoy DMG can be booted from a USB drive since the Raspberry Pi used in it allows for this. There is nothing specific to the PiBoy hardware that prevents it from booting just like a standalone Raspberry Pi. This tutorial references several pieces of documentation that will help you if you decide to try running your PiBoy from a USB drive.
Preparing the Raspberry Pi for USB Booting
Booting from a USB drive if different depending on which model of Raspberry Pi you’re using in your PiBoy. See the official Raspberry Pi documentation for the details of setting up USB booting for any given Pi model.
If you already have a system up and running with a working installation of a Raspbian-based OS such as RetroPie you can run the following commands from the command line. Attach a USB keyboard to the PiBoy, press F4 to reach the command line and run the following commands one after another. You’ll need to be connected to the internet for these commands to work. Once you’ve run all of the commands reboot the PiBoy.
sudo apt-get update
sudo apt-get upgrade -y
sudo rpi-eeprom-update -a
Flashing the USB Drive
Once the Pi is ready for USB booting you’ll need to flash the operating system image to the drive. Our official image is available here. Instructions on how to flash the OS image can be here.
A Note About Drive Performance
The read and write performance of the USB drive used will determine how well a USB drive performs when running emulators on the PiBoy. Booting should not a a problem and a quick boot time is not necessarily an indication the drive is suitable for running games. However, you can test the performance of the drive before flashing the operating system to determine is a drive will perform well. See this article to learn how to test a drive’s performance before use. The article linked to talks about testing SD cards, but the same information can be used to test USB drives.
Article last updated on: 08 Mar 2021
