
Figure 1: RetroPie is the most popular choice of emulation suites.
1. This tutorial uses the Etcher software for writing image files to an SD card. Etcher runs on Windows, MacOS and Linux. Download Etcher from here: Etcher
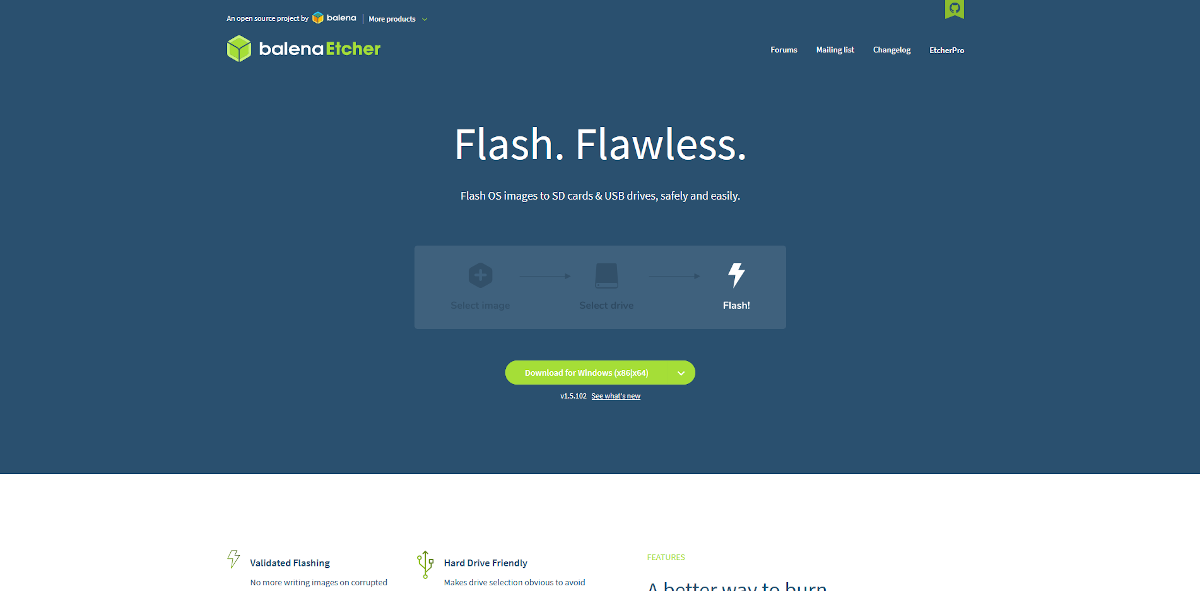
Figure 2: Downloading Etcher from it’s website.
2. Install Etcher by running the downloaded installer.
3. Decide what emulation suite you would like to install. You can either install our official image based around RetroPie or install a stock RetroPie image. If you are not using a Pi 4, you will need to use a stock RetroPie image and install our scripts.
Download our official image here
Download RetroPie here
3. Extract the downloaded and compressed image file. On Windows a popular utility for this is 7zip. The extracted file will be in either a .iso file or a .img file.
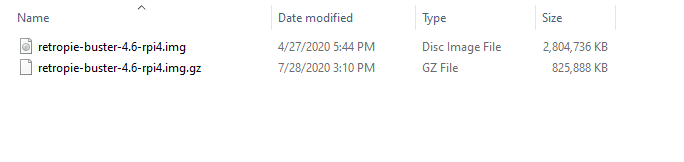
Figure 3: The source and extracted versions of the image file.
4. Select the micro SD card to be used with the Pi. An 8GB or larger card is suggested, a larger card allows you to install more games without running out of storage space.
5. Insert the micro SD card in to a card reader attached to the computer being used. Some computers have built in card readers, while others will require the use of an external USB card reader.
6. Start the Etcher software.
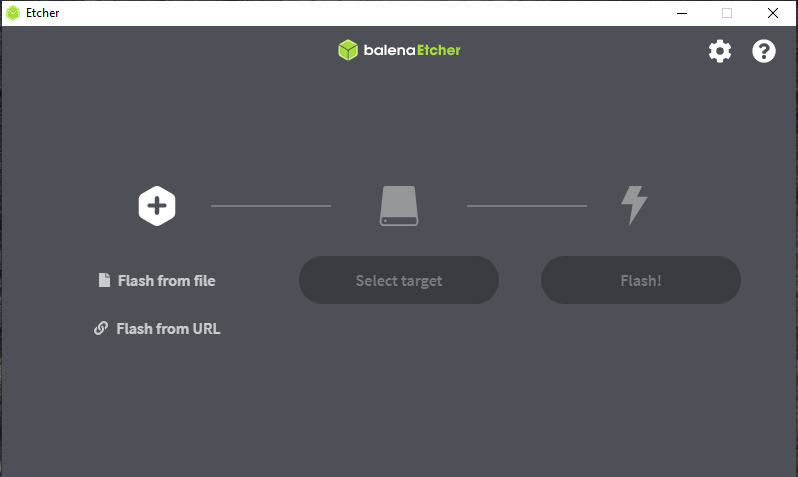
Figure 4: Etcher opened up.
7. Click the “Flash from File” icon. Select the image file you would like to flash to the micro SD card.
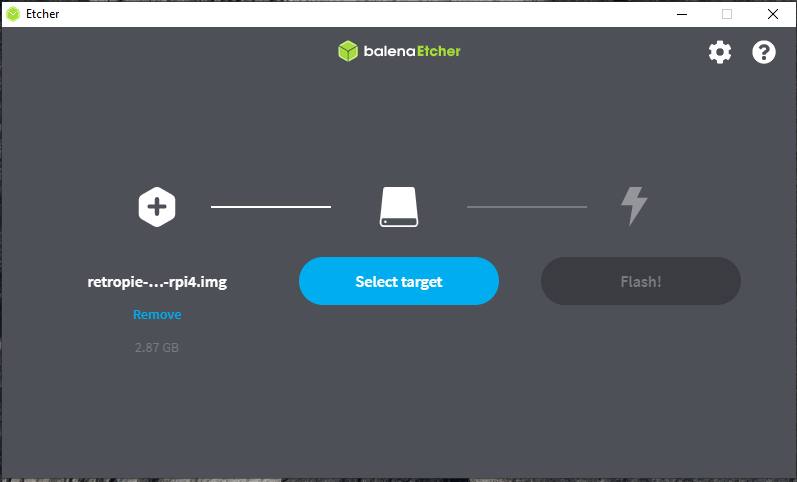
Figure 5: The image file selected in Etcher.
8. Click the “Select Target” icon. Select the micro SD card you would like to flash to.
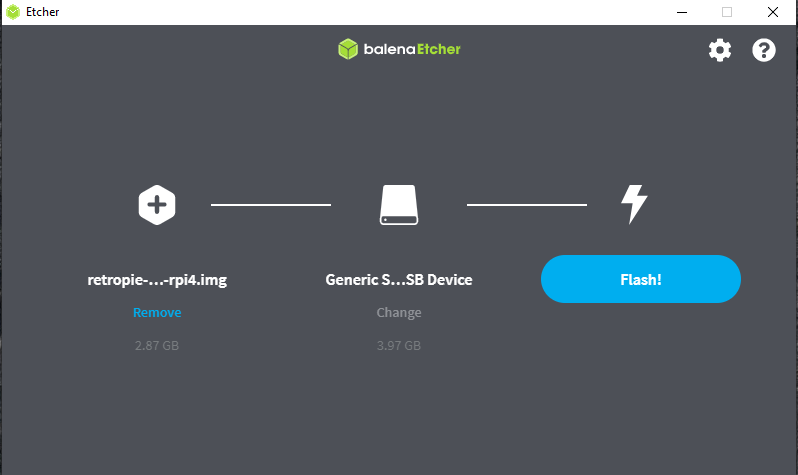
Figure 6: The micro SD card selected as the target drive.
9. Start the flashing process by clicking “Flash!”.
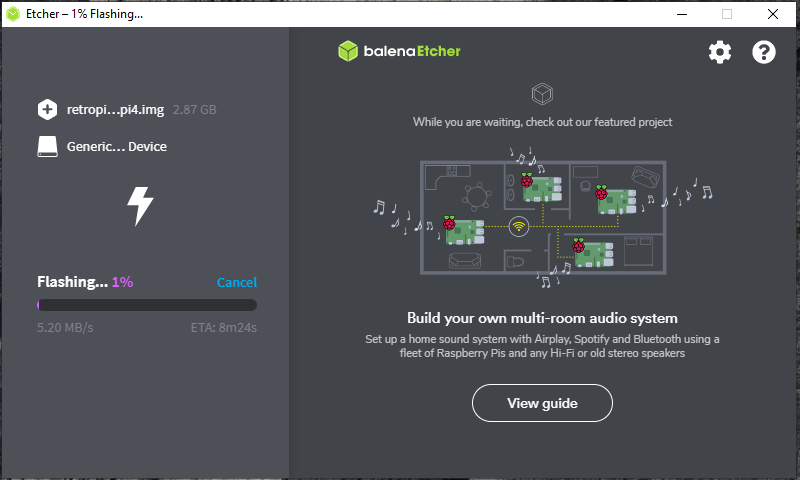
Figure 7: Etcher flashing the image file to the micro SD card.
10. Once Etcher has finished, close Etcher, and safely eject the micro SD card from the computer.
11. If you’ve flashed the official image you can now insert the SD card in to the PiBoy and start using it. The official image contains all of the software needed to run on the PiBoy.
12. If you’ve flashed a stock RetroPie image see this article for how to install the rest of the Experimental Pi software needed to run a PiBoy DMG.
The first time you boot the PiBoy with a newly flashed image the PiBoy will reboot itself several times. This is a normal part of the setup process. Do not turn the PiBoy off during this process.
Article last updated on: 13 Jul 2022
