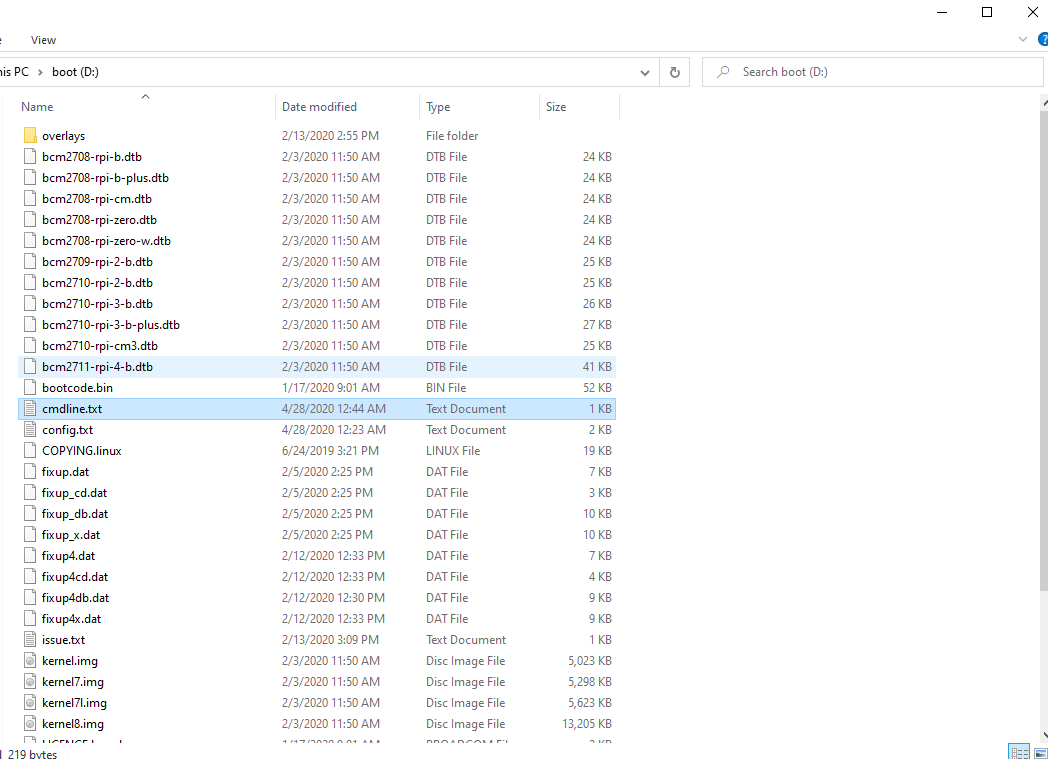
Figure 1: The files in the boot directory of a freshly flashed RetroPie image.
This tutorial explains how to install the safe shutdown script and on screen display software to a newly flashed image on a micro SD card.
- After flashing RetroPie or any Raspbian-based distro to a micro SD card, insert the card in to a computer.
- Download the firmware and scripts utility from our downloads page, and extract the folder.
- Open ExperimentalPiUtility.exe
- Click on “Update SD Card.” This will automatically load the required files on to the SD card, as well as modify the cmdline.txt file.
- If you would like, you can check the cmdline.txt file to ensure it was updated properly. After running the update tool, the cmdline.txt file should end in the following;
logo.nologo init=/bin/bash -c \”mount -t proc proc /proc; mount -t sysfs sys /sys; mount /boot; source /boot/unattended\”
NOTE that the cmdline.txt file should always be all on one line. DO NOT insert any line breaks into the file, or it will not operate properly.
- If the cmdline.txt is not correct, find “init” in the file, and delete everything from that phrase forward and replace it with the above text. It is recommended that to prevent errors due to encoding difference, you type in the text and check closely for accuracy, rather than copying and pasting. Again, be sure not to enter any line breaks into the file as this will break it.
- An internet connection may be necessary for the installation to complete. The easiest way to connect the PiBoy to the internet is to connect an ethernet cable between the PiBoy and your router. However, you can add your wifi credentials to the one-time-script.conf file. Open the file and find the section “wifi settings.” Remove the “#” from the beginning of the lines labeled “new_wifi_country,” “new_wifi_ssid,” and “new_wifi_password.” Insert your network name and password into the quotations that say “NetworkName” and “NetworkPass.” Save the file.
- Safely eject the SD card from your computer.
- Insert the SD card in to the PiBoy and turn it on. The PiBoy will go through several boot/reboot cycles before it is ready. This process will take several minutes. If it does not boot up after 5 minutes or so, check our troubleshooting guide.
If you are installing these scripts using mac or linux, or if you are unable to run the utility tool for whatever reason, you can add the scripts manually. This is a fairly simple process.
- After flashing RetroPie or any Raspbian-based distro to a micro SD card, insert the card in to a computer.
- Download the firmware and scripts utility from our downloads page, and extract the folder.
- Open the SDInstall folder from the extracted files, and copy its entire contents directly into the boot directory of the SD card.
- Find the cmdline.txt file in the boot directory of the SD card, and open it in a text editor.
- find “init” in the file, and delete everything from that phrase forward and replace it with the below text. It is recommended that to prevent errors due to encoding difference, you type in the text and check closely for accuracy, rather than copying and pasting.
logo.nologo init=/bin/bash -c \”mount -t proc proc /proc; mount -t sysfs sys /sys; mount /boot; source /boot/unattended\”
NOTE that the cmdline.txt file should always be all on one line. DO NOT insert any line breaks into the file, or it will not operate properly.
- An internet connection may be necessary for the installation to complete. The easiest way to connect the PiBoy to the internet is to connect an ethernet cable between the PiBoy and your router. However, you can add your wifi credentials to the one-time-script.conf file. Open the file and find the section “wifi settings.” Remove the “#” from the beginning of the lines labeled “new_wifi_country,” “new_wifi_ssid,” and “new_wifi_password.” Insert your network name and password into the quotations that say “NetworkName” and “NetworkPass.” Save the file.
- Safely eject the SD card from your computer.
- Insert the SD card in to the PiBoy and turn it on. The PiBoy will go through several boot/reboot cycles before it is ready. This process will take several minutes. If it does not boot up after 5 minutes or so, check our troubleshooting guide.
