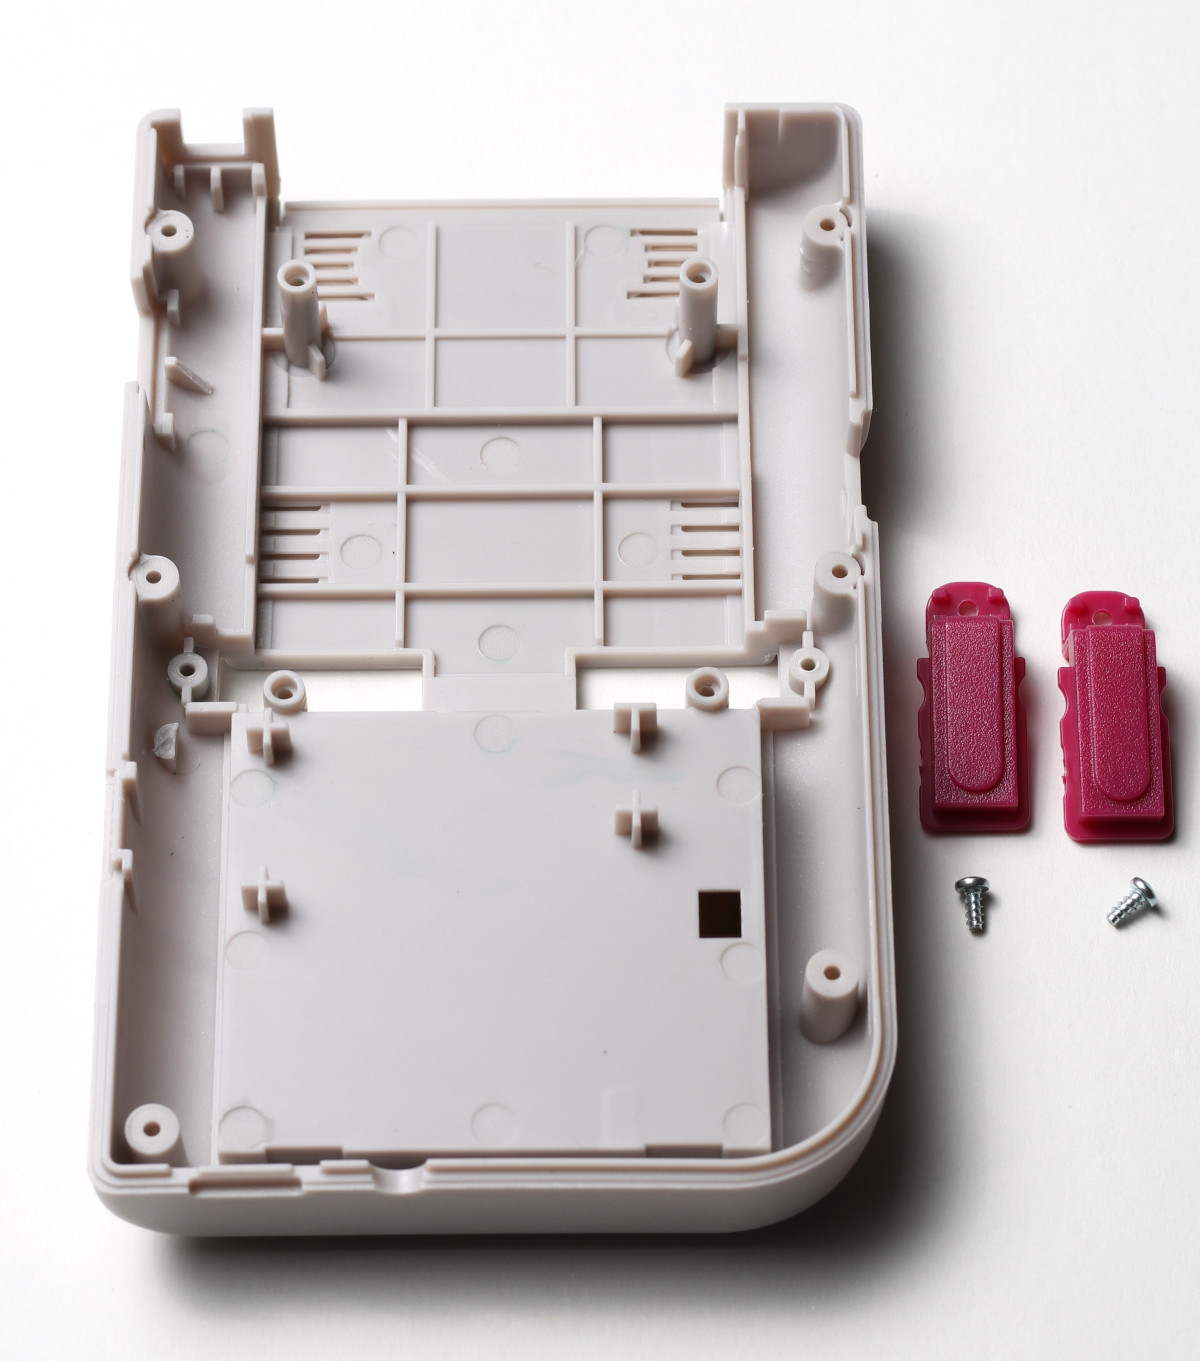
Figure 1: A look inside the back of the case with the new buttons alongside.
This tutorial covers how to swap out the optional back buttons that come with the PiBoy DMG kit. The alternate back buttons provide a different feel than the stock buttons. It is a simple process and should only take a few minutes. The screwdriver included with the kit can be used for this procedure.
1. Remove the battery from the battery compartment. A small flat bladed screwdriver can be used to gently pry the connector loose.
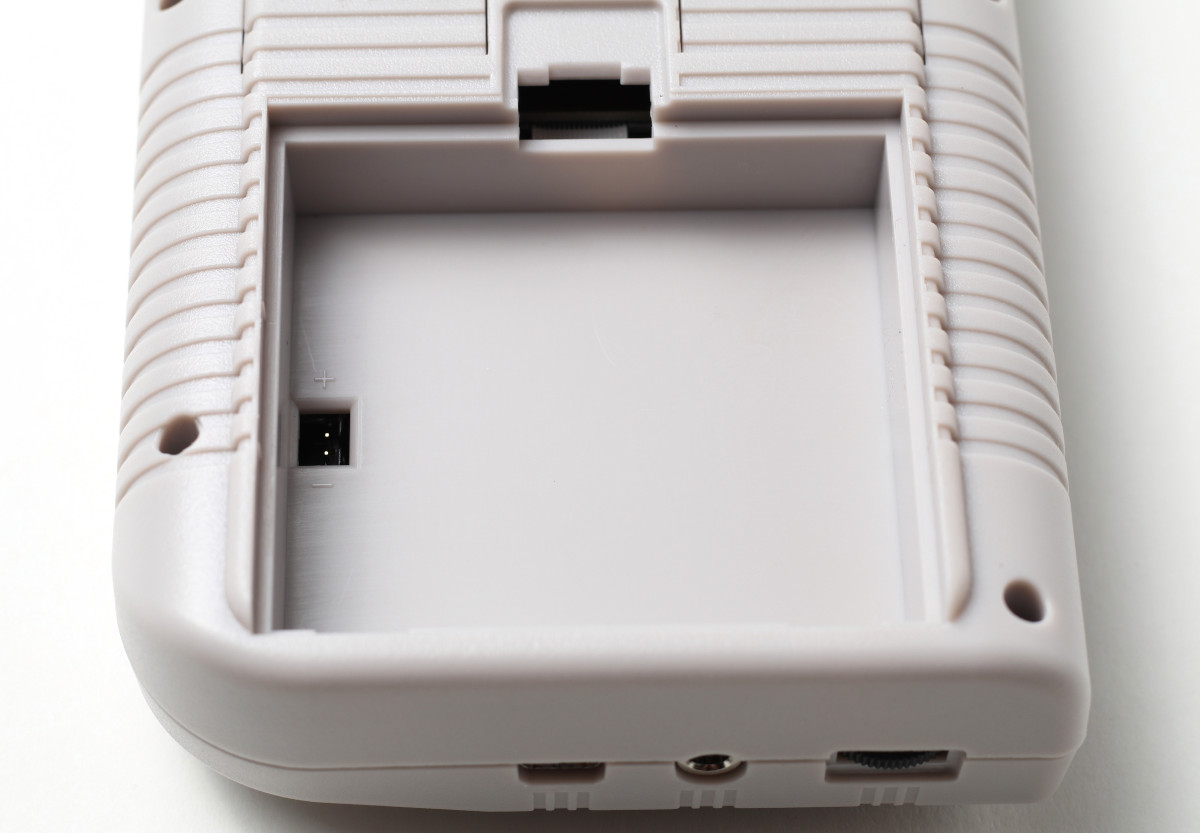
Figure 2: The battery compartment with the battery removed. Always remove the battery before opening the PiBoy DMG.
2. Remove the back cover by loosening and removing the 6 screws holding it in place.

Figure 3: The back cover removed.
3. Locate the two buttons to be removed and the screws holding them in.
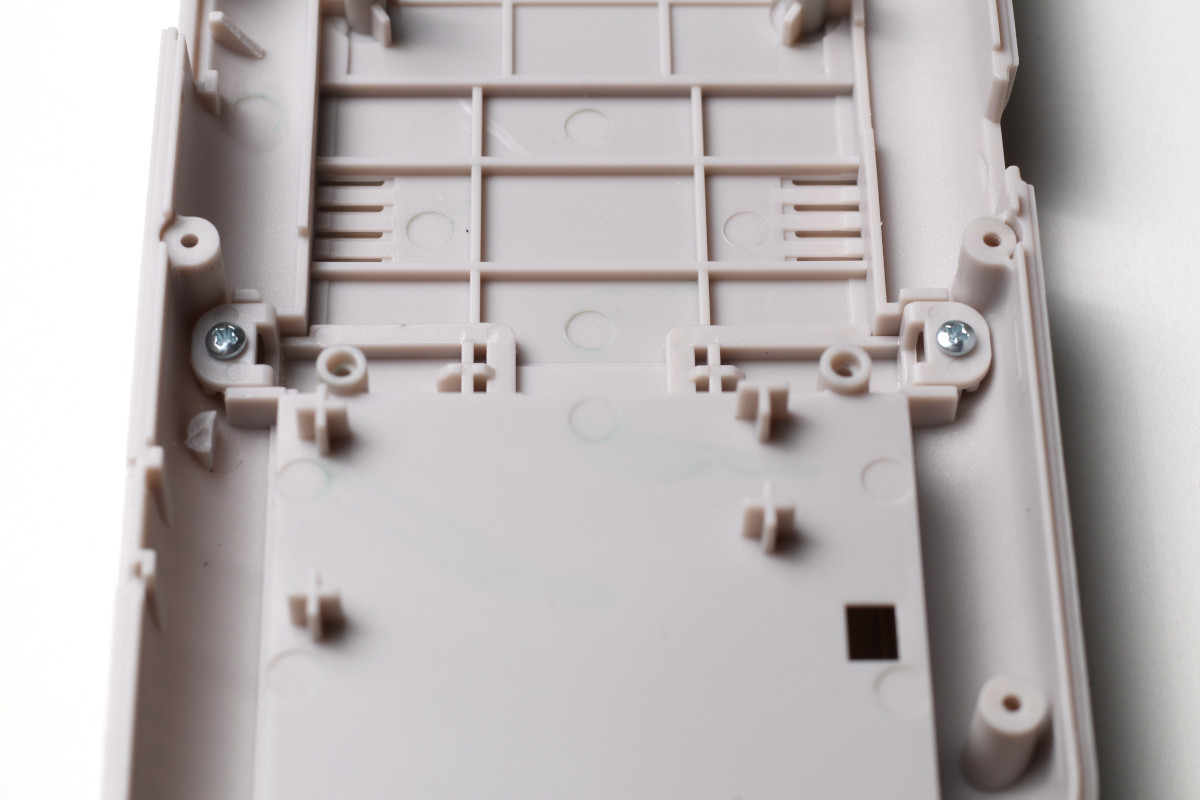
Figure 4: The location of the back buttons.
4. Remove the old buttons by unscrewing them and removing them from the case.
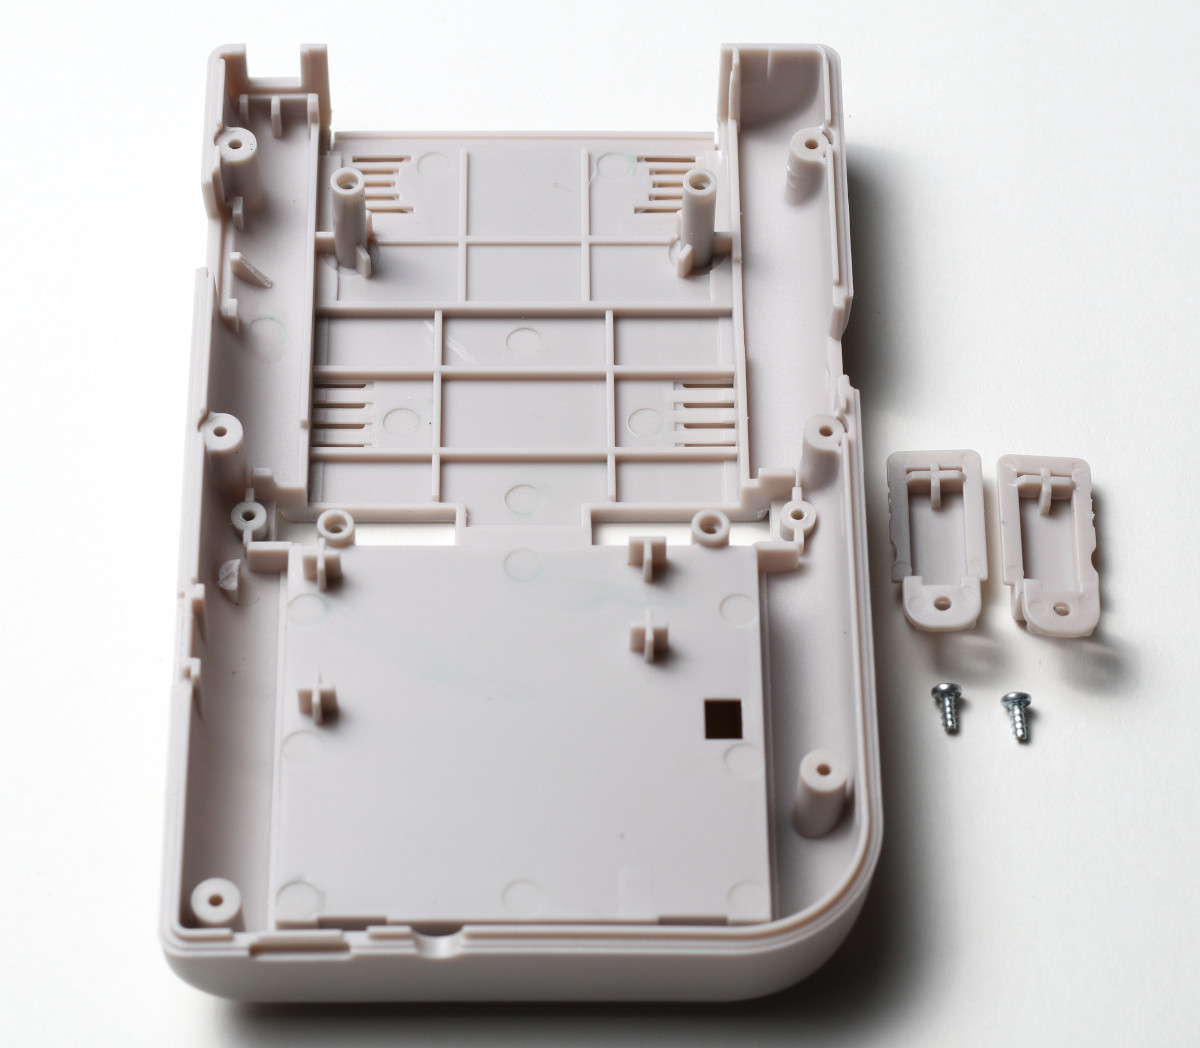
Figure 5: The original buttons removed.
5. Place the new buttons, which can be found in the parts bag, in the case and screw them in to place.
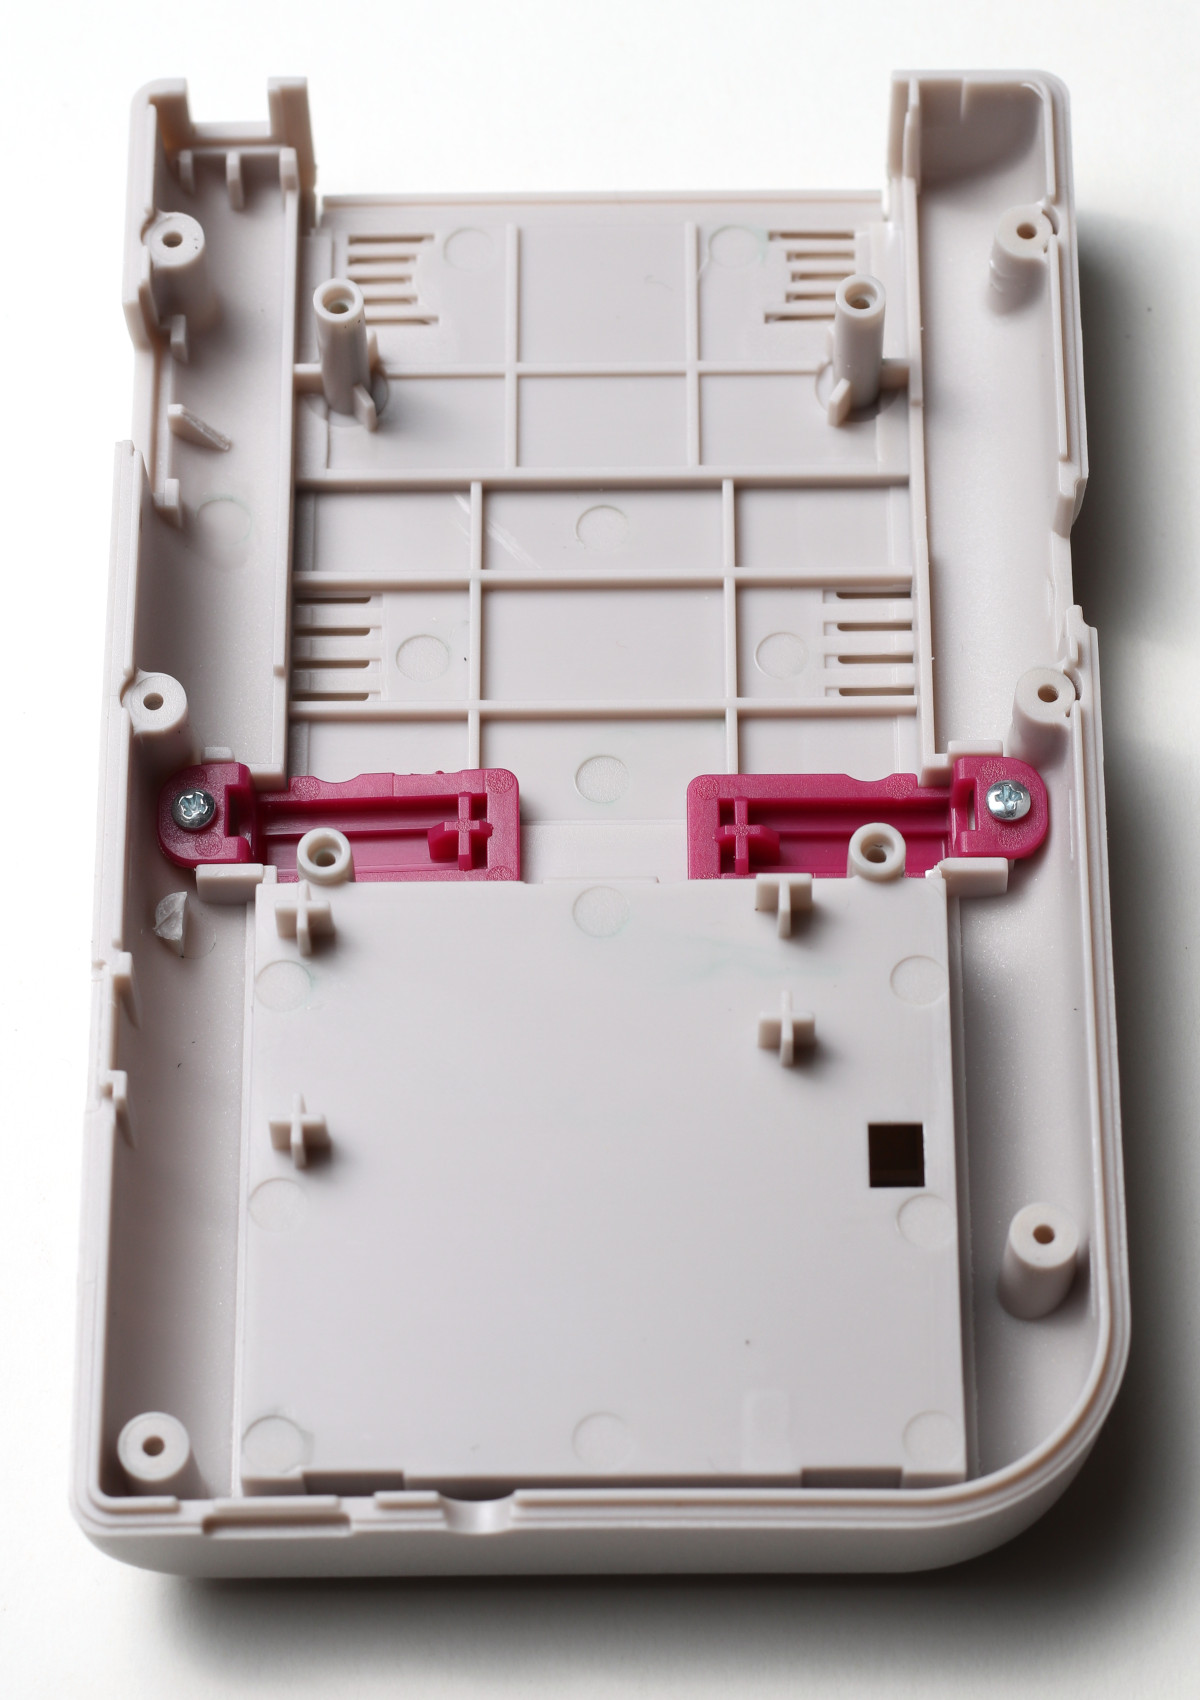
Figure 6: The new back buttons installed.
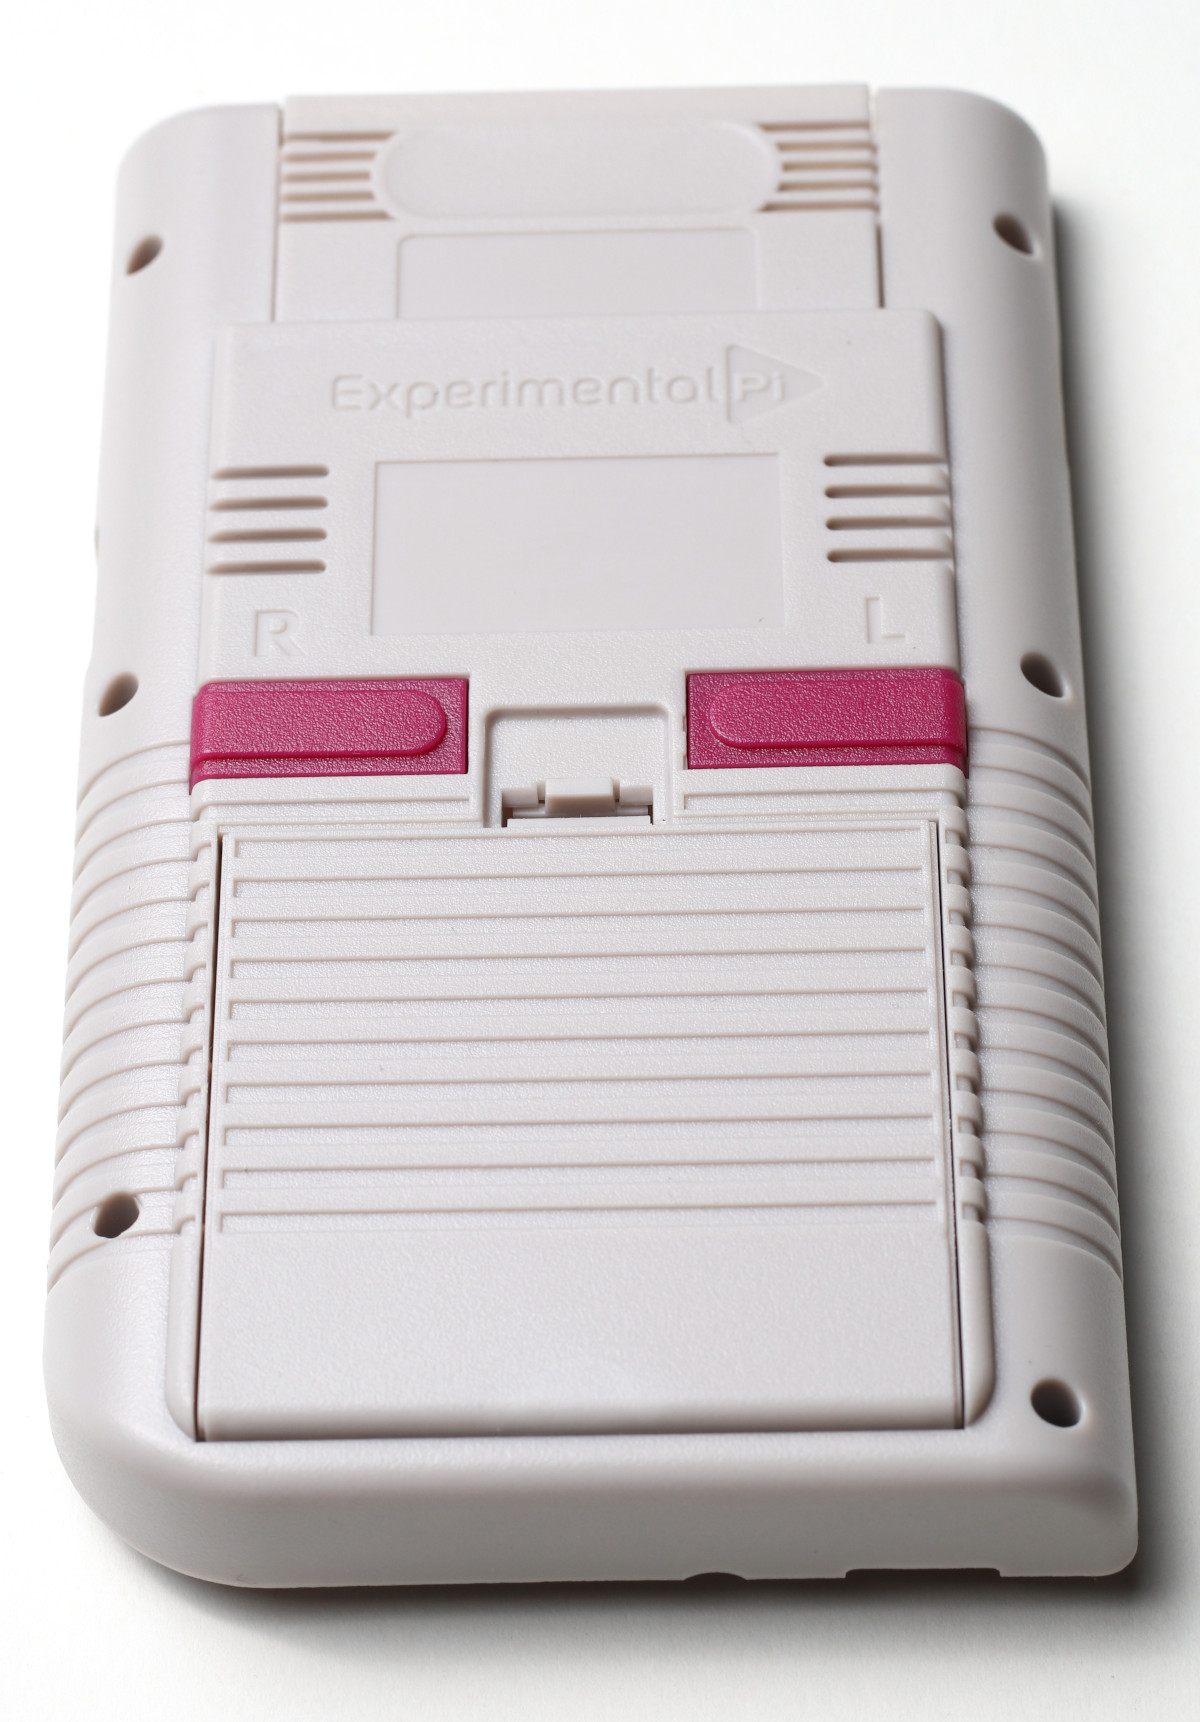
Figure 7: A look at the new buttons from the back of the case.
6. Place the back half of the case back on the PiBoy and screw it in to place with the 6 screws removed earlier.
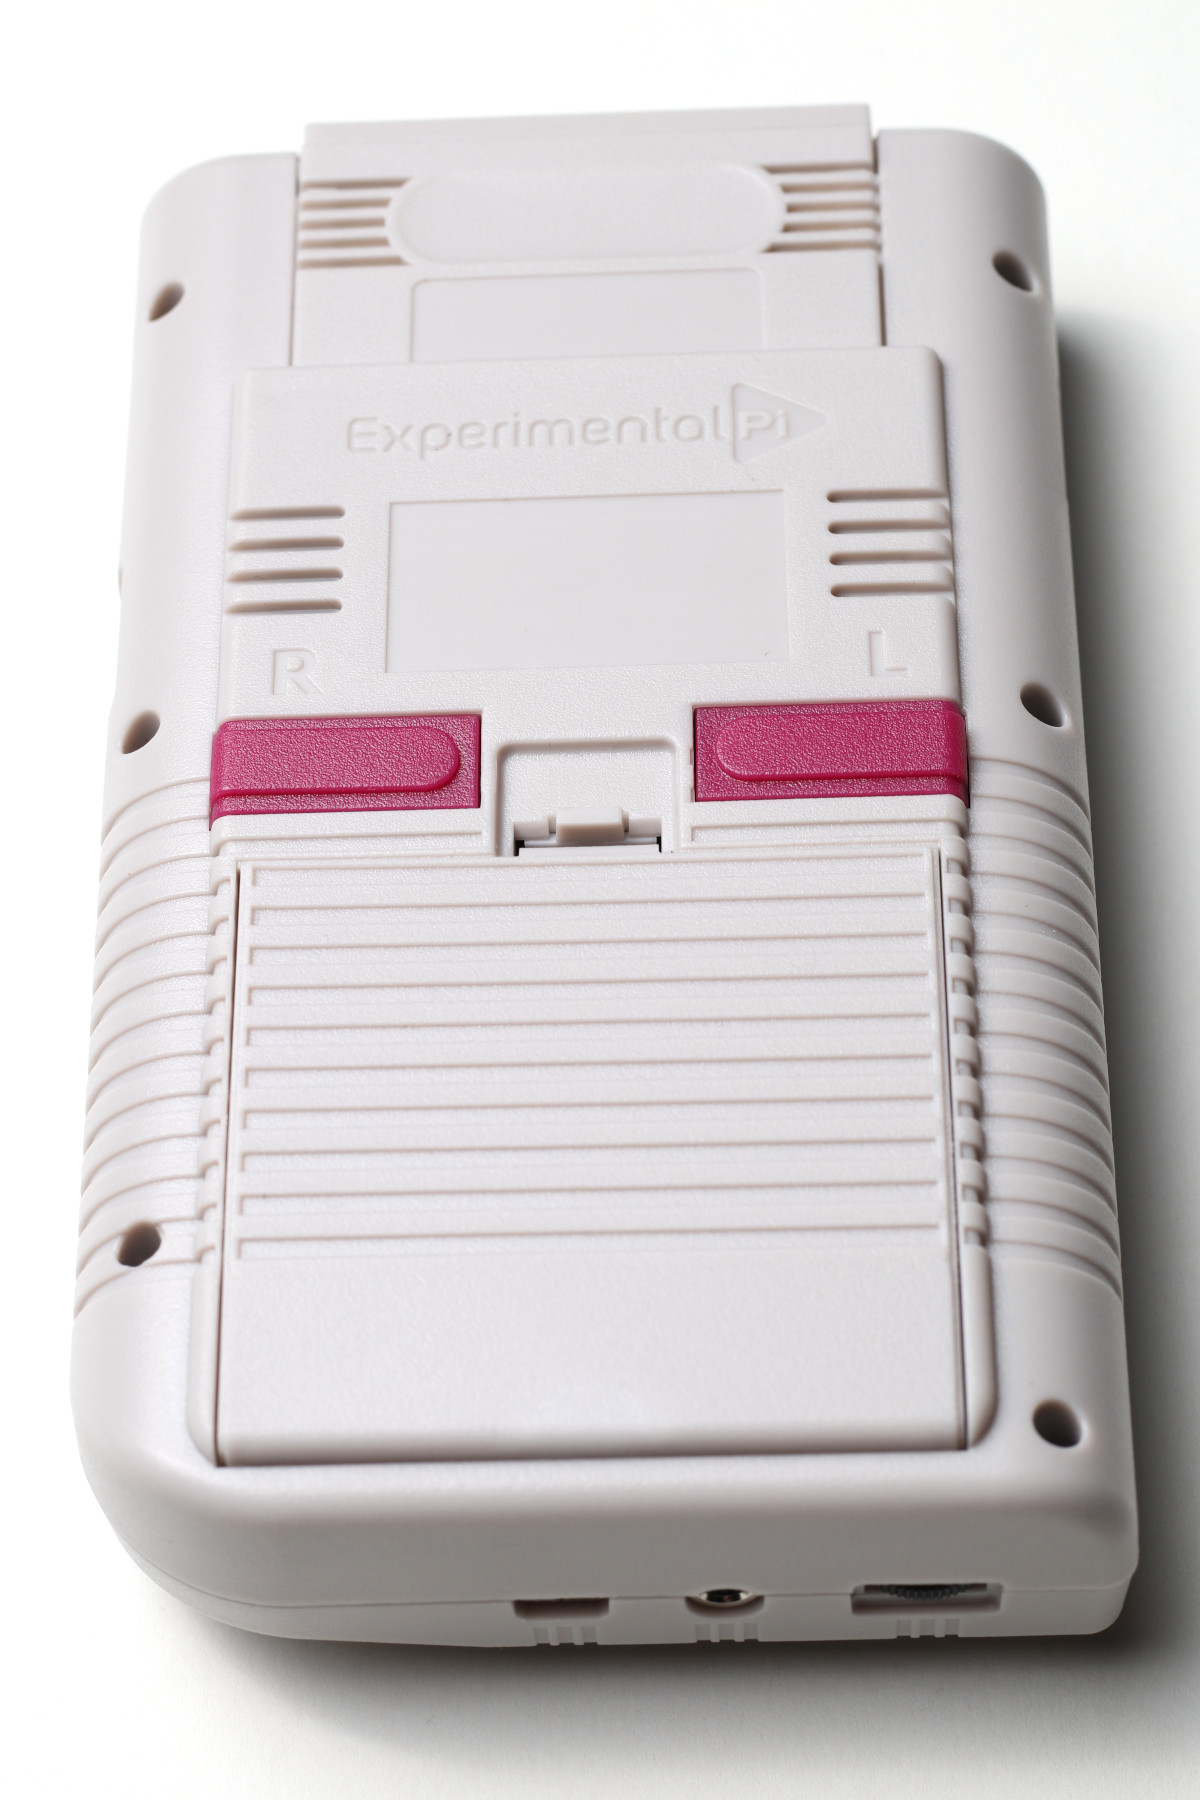
Figure 8: The back of the case reinstalled on the PiBoy.
7. Reinstall the battery in the battery compartment.
Article last updated on: 16 Mar 2021
