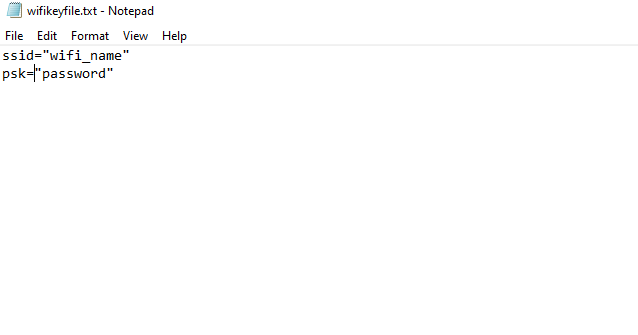
Figure 1: The contents of the wifikeyfile.
Below are instructions on how configure the PiBoy’s wireless internet connection. You’ll need the name and password of the wireless access point being used as well as a computer and card reader to setup the file on the PiBoy’s micro SD card.
- Remove the SD card from the PiBoy.
- Insert the SD card in to the card reader of a computer.
- Open the SD card and make sure you are in the /boot directory. This is the root of the filesystem.
- On the computer create a file called: wifikeyfile.txt
- Add the following lines:
ssid=”wifi_name”
psk=”password”
Replace the content between the quotes with your wifi access point name and your password.
- Save the file and close it.
- Move the file to the SD card.
- Remove the SD card from the computer.
- Put the SD card in the PiBoy and turn it on.
- Navigate to the “Retropie” menu.
- Select the “Wifi” menu option.
- Select the option for “Import wifi credentials from /boot/wifikeyfile.txt” from the menu.
- Exit and return to RetroPie menu.
You can also configure the connection directly in RetroPie.
- Turn on your PiBoy and navigate to the RetroPie menu
- Scroll to the bottom and select “wifi”
- Select the first option, “Connect to WiFi network” – the device will scan for nearby networks.
- Select your network from the list. If your network is hidden, select the “Hidden ESSID” option from the bottom of the list.
- Use the on screen keyboard to enter the network password.
- To check your connection, you can exit the wifi menu back to the RetroPie menu, and scroll up to the “show IP” option. If you have successfully connected to the network, it should display a valid IP address assigned to your device.
Article last updated on: 19 Apr 2022
