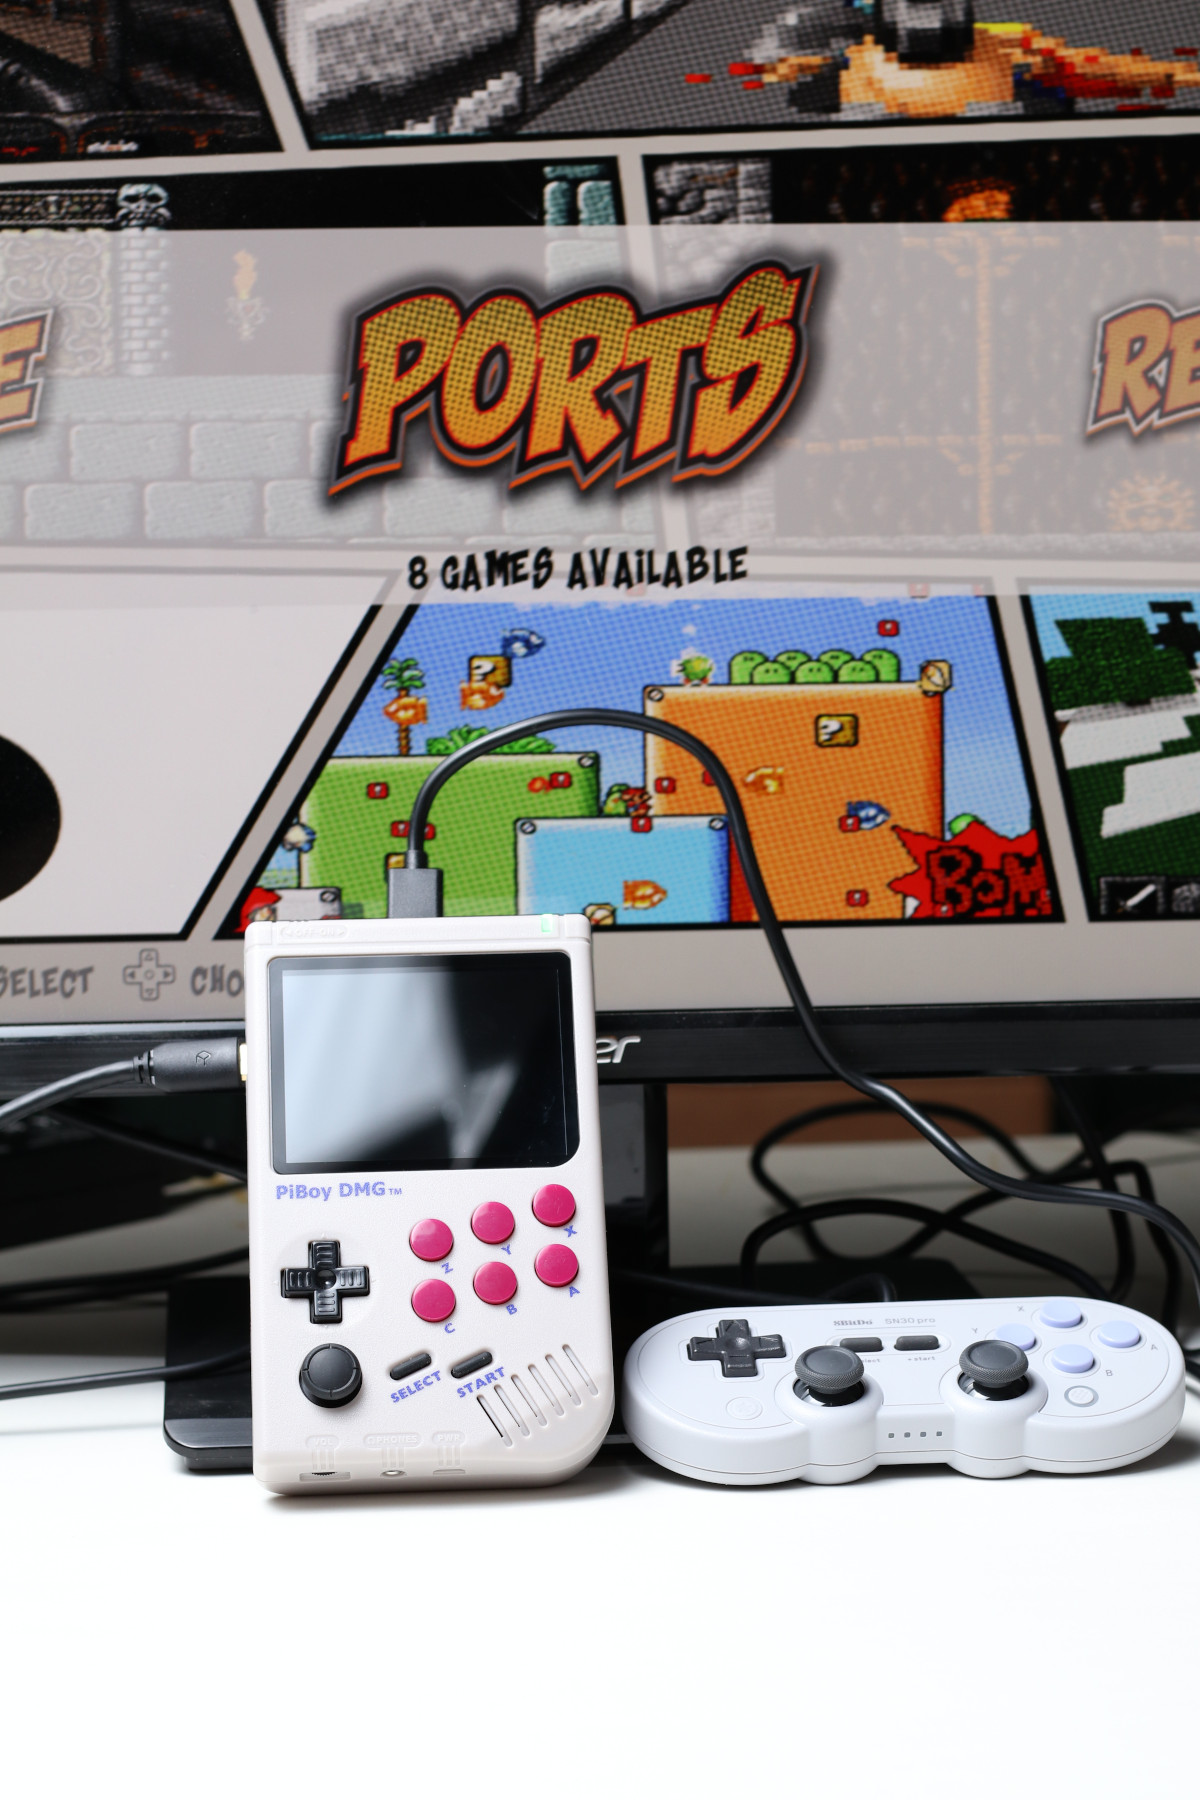
Figure 1: The PiBoy can display games on an external screen, such as a TV or monitor.
The PiBoy DMG, while being a handheld gaming device, can also be used like a console when equipped with the optional HDMI out feature. Controllers can be plugged in to it and the display sent to a TV or monitor of your choice. This is a great option for multi player games.
The HDMI out connector on the PiBoy DMG is a mini HDMI connector. You’ll need the appropriate cable or adapter to connect it to a device with a full sized HDMI connector.
1. Turn the PiBoy off. Plug an HDMI cable in to the PiBoy and then plug the other end in to a TV or monitor.
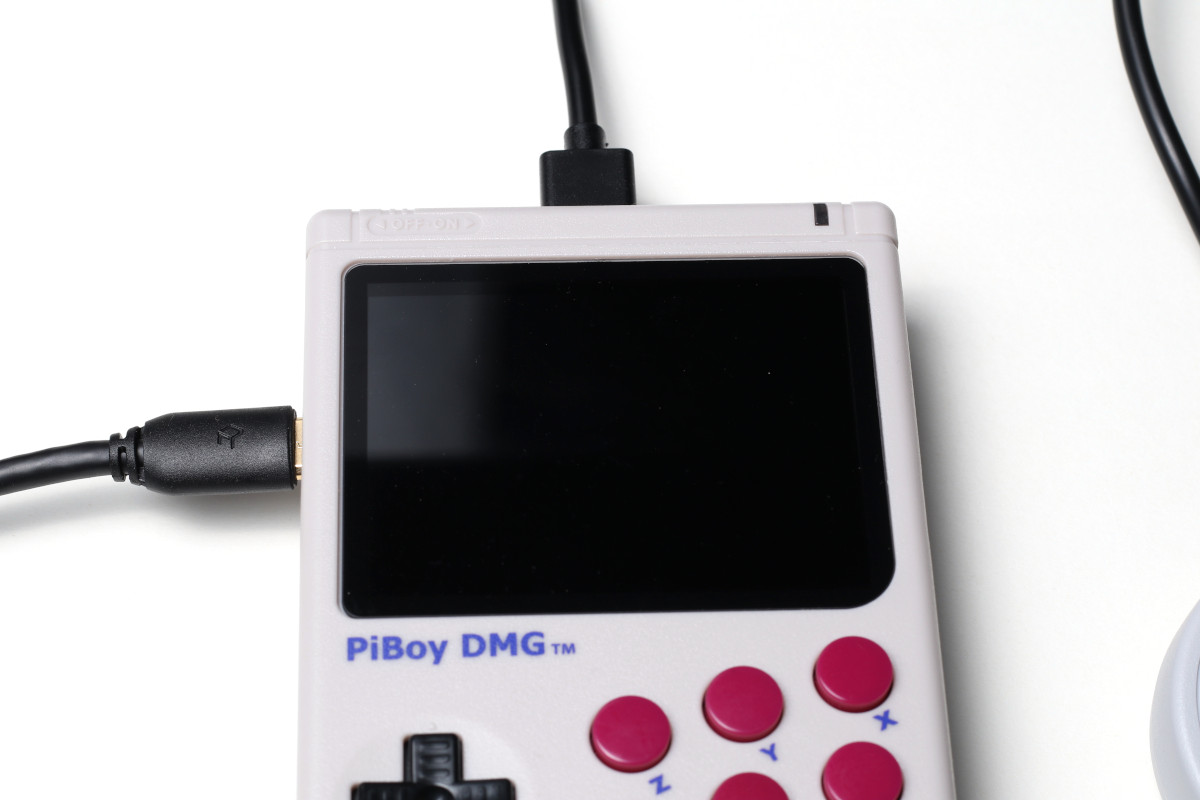
Figure 2: A mini HDMI cable plugged in to the side of the PiBoy DMG.
2. Turn the PiBoy on. The video output of the PiBoy should now be displayed on the external screen.
3. Plug USB controllers in to the PiBoy or configure wireless controllers. USB controllers will be detected automatically, while wireless controllers may require some configuration. See our article on wireless controllers. Wired controllers are mapped to player numbers based on the USB port they are plugged in to. See the image below for the mapping.
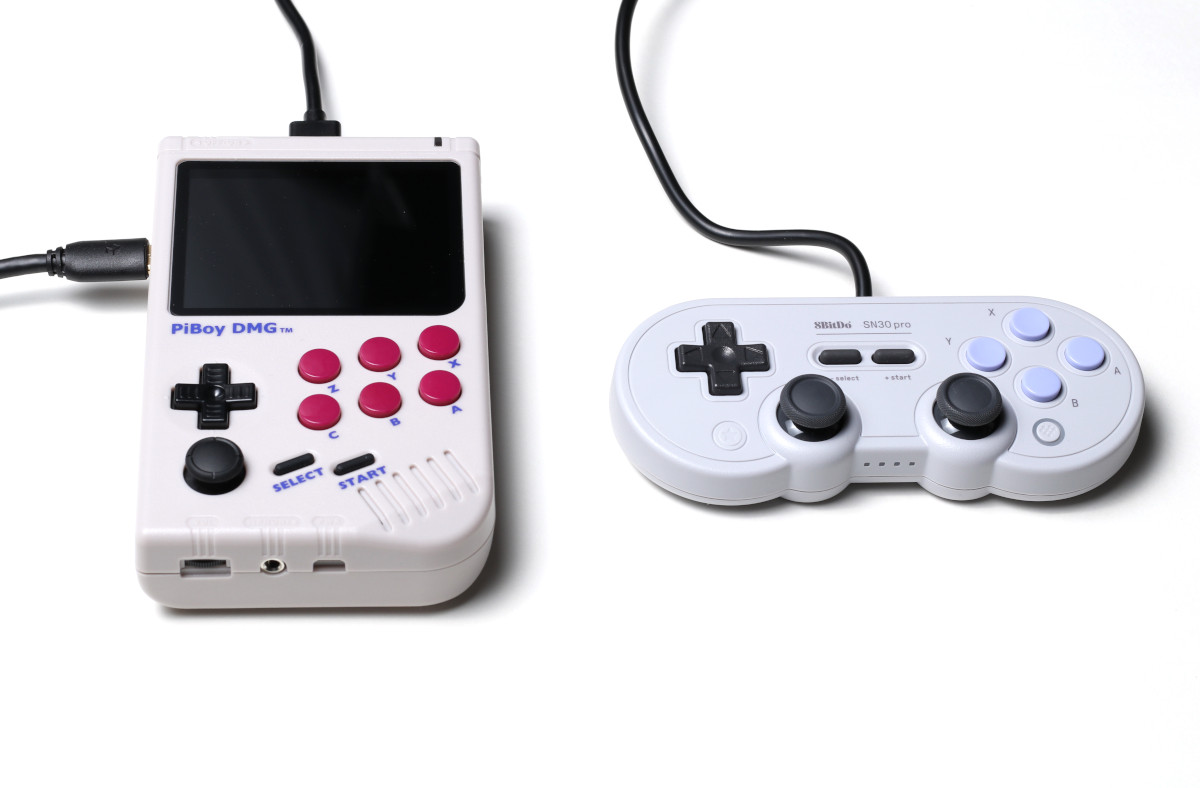
Figure 3: The PiBoy with mini HDMI and controller plugged in.
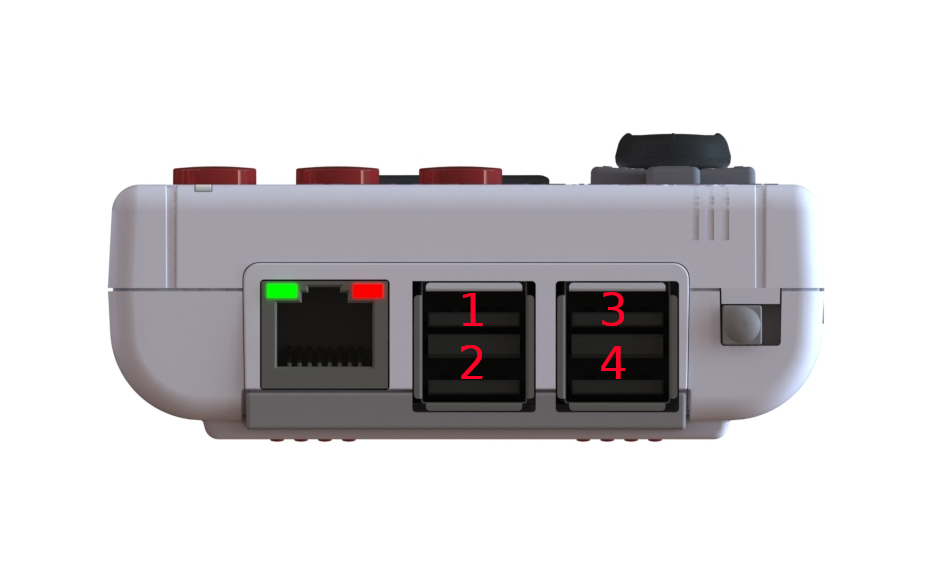
Figure 4: The mapping of player number to USB ports on the PiBoy DMG.
4. Map the controls for each controller in RetroPie. While in the game select screen for a given system, press “Start” and select “Configure Input”. Step through the mapping to map each control on the controller. If a control is not available or does not need to be mapped, hold down an already mappped control to skip to the next mapping. Repeat this process for each controller attached to the PiBoy.
5. The system is now ready to be used as a console.
6. To return the PiBoy to normal usage, turn it off and disconnect the HDMI cable and controllers. When the PiBoy is turned on again the video chipset will return to using the built-in screen.
