There may be times where it is necessary to test the PiBoy to ensure it is working properly.
This article will guide you through the steps of testing your unit. Please be sure to use caution when handling your PiBoy, to ensure no damage is caused by static discharge.

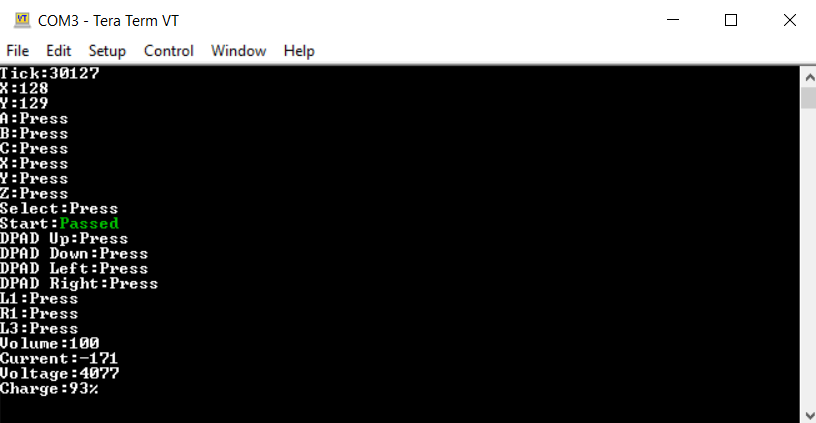
Figure 1: PiBoy test screen in Tera Term
1. Prepare by ensuring you have Tera Term installed on your computer, and that your PiBoy is updated to the latest firmware (1.05 or higher).
2. Remove both the micro SD card and the Raspberry Pi from the PiBoy. The Raspberry Pi is removed by undoing the 6 case screws,
as well as the 4 screws attaching the hat to the bracket. Gently remove the hat from the Pi, being careful not to damage the ribbon cable,
and carefully remove the Pi from the brackets, taking the SD connector out from the micro SD slot on the Pi.
3. Connect the PiBoy to your computer using a micro USB cable.
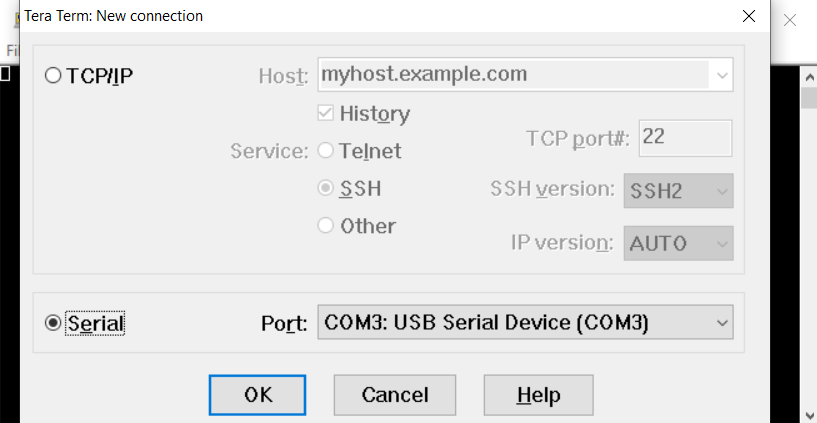
4. Open Tera Term, select serial and press Ok.

Figure 2: Tera Term
5. Hold the start button of the PiBoy while turning the switch to the on position. The terminal should appear as shown below.
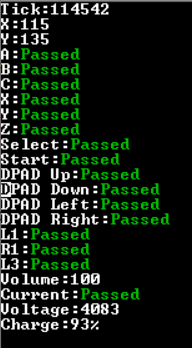
6. From this screen, as you press each button on the PiBoy the terminal will show "Passed" if it is working properly.
You may also test the volume, screen brightness, and charging from this screen.

Figure 3: PiBoy diagnostic screen with all passed
7. To test the volume, turn the volume knob while watching the volume line on the diagnostic terminal. It should be able to go from 0 to 100%
8. To test the screen brightness, simply turn the brightness knob while watching the screen of the PiBoy itself. It should brighten and dim.
9. To test the charging, plug in the battery and the line that says "current" should change to show "Passed."
Article last updated on: 17 Sep 2021
