
Figure 1: The firmware for the PiBoy can be updated as newer versions are released.
1. First, download the firmware and update tool from here. The USB driver is also found in this download.
2. Unzip the file in a convenient location and open the inner folder named “PiboyUpdate”.
3. Install the USB driver for your system. If you are running a 32-bit version of Windows use the DPinst.exe and if you are running a 64-bit version of Windows use the DPinst64.exe. Double clicking on the file will start the installation process.
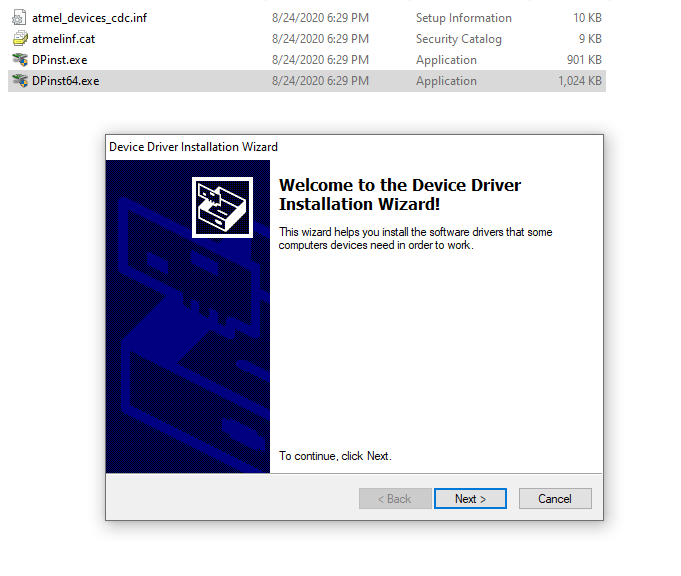
Figure 2: Installation of the USB driver.
4. Make sure the PiBoy’s power switch is in the off position and that the PiBoy is fully powered down.
5. Plug a micro USB cable in to the PiBoy.
6. Plug the other end of the micro USB cable in to the computer being used.
7. Locate the file called ExperimentalPiUtility.exe. Double click on the file to start the firmware updater.
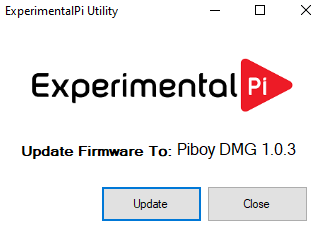
Figure 3: The firmware flashing application started.
8. Click “Update” in the application to flash the firmware.
9. A progress bar will show the flashing process and then close and return you to the application once flashing has finished.
10. If the firmware fails to flash you may need to put the PiBoy in bootloader mode. Press the joystick in until it clicks and hold it down while turning the PiBoy on. Release the joystick button. The power LED should begin to flash red. Once again run the firmware loader application.
12. Close the firmware loader application.
13. Disconnect the USB cable from the computer and from the PiBoy.
14. Turn the PiBoy on. The PiBoy will boot, restart and boot again several times, this is called boot cycling and is normal after updating the firmware. The full boot cycle process may take several minutes. Do not turn off the PiBoy until the boot cycling has stopped.
Article last updated on: 10 Nov 2021
