Figure 1: ROMs are put in the proper system folders in the roms directory.
1. Connect your PiBoy to your local network either by a wireless connection or a direct ethernet connection to the PiBoy. See this article to learn how to configure a wireless internet connection for the Piboy.
2. On a Windows computer containing the ROMs you’d like to transfer open a file explorer window. In the address bar of the file explorer window enter: \\RETROPIE
Press enter to connect to the PiBoy.
3. After connecting to the PiBoy the file explorer will show the root of the partition with several folders. Double click on the folder labeled “roms”.
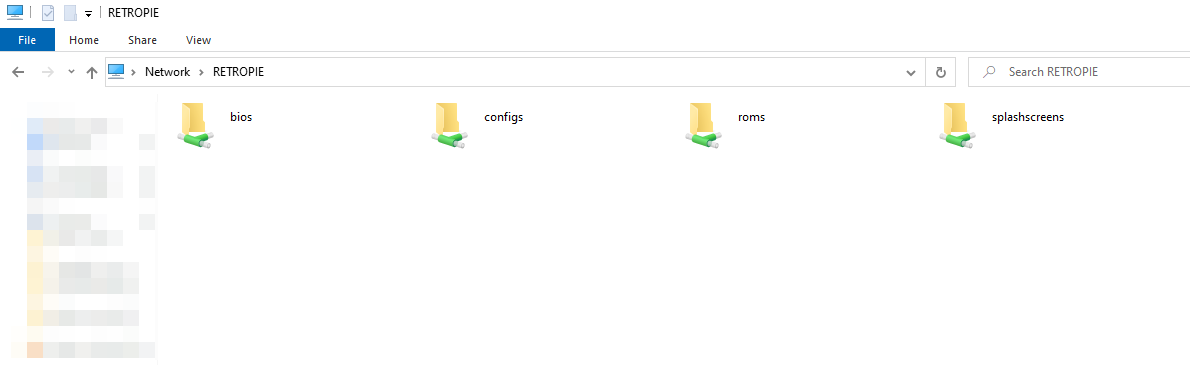
Figure 2: The root of the partition shown after connecting to the PiBoy. The roms folder is found here.
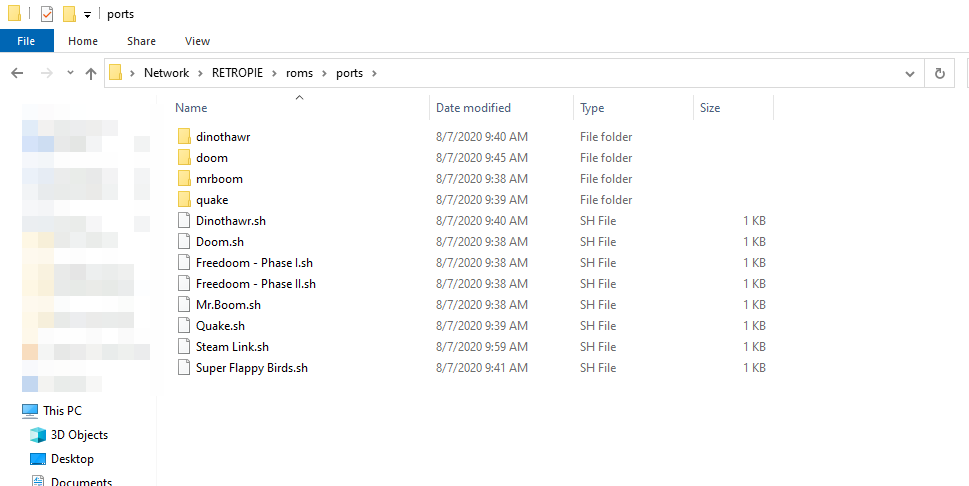
4. The roms folder contains folders for all systems that RetroPie can emulate. Move the ROMs you would like to run on the PiBoy to the folder(s) for the system they run on. It may take awhile for them to transfer depending on the speed of your local network.
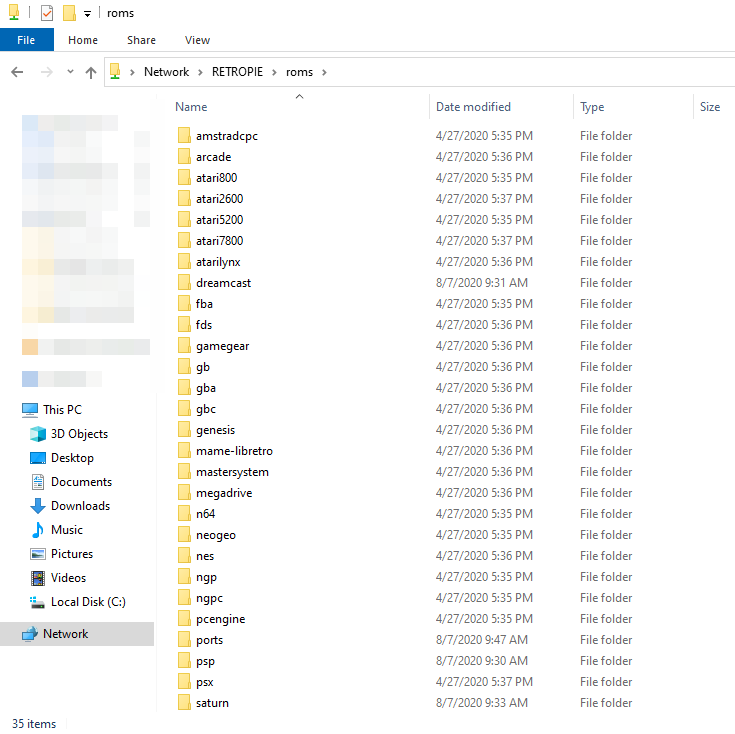
Figure 3: The roms folder contains folders for each system that can be emulated.
5. When you are done transferring ROMs, close the file explorer window that is connected to the PiBoy.
6. Turn off the PiBoy and then turn it back on. RetroPie will process all of the newly added ROMs on startup. Once RetroPie has fully loaded you will be able to play your newly added games.
Article last updated on: 23 Dec 2020
