Figure 1: The Steam Link application allows you to play computer games on the PiBoy from a remote computer.
Configure PiBoy
1. Configure and turn on wifi for the PiBoy. Details on configuring wifi can be found in this article. Alternatively, you can connect the PiBoy to your network with an ethernet connection.
The quality of your local network affects the performance and playability of games via Steam Link. Any games that require critical timing and lack of delay such as fighting games will require a fast, low latency local network. In this scenario it is recommended that an all wired network should be used, including connection the PiBoy to your network with an ethernet connection. Slower paced games and games that do not rely on critical timing should be playable on a wireless network.
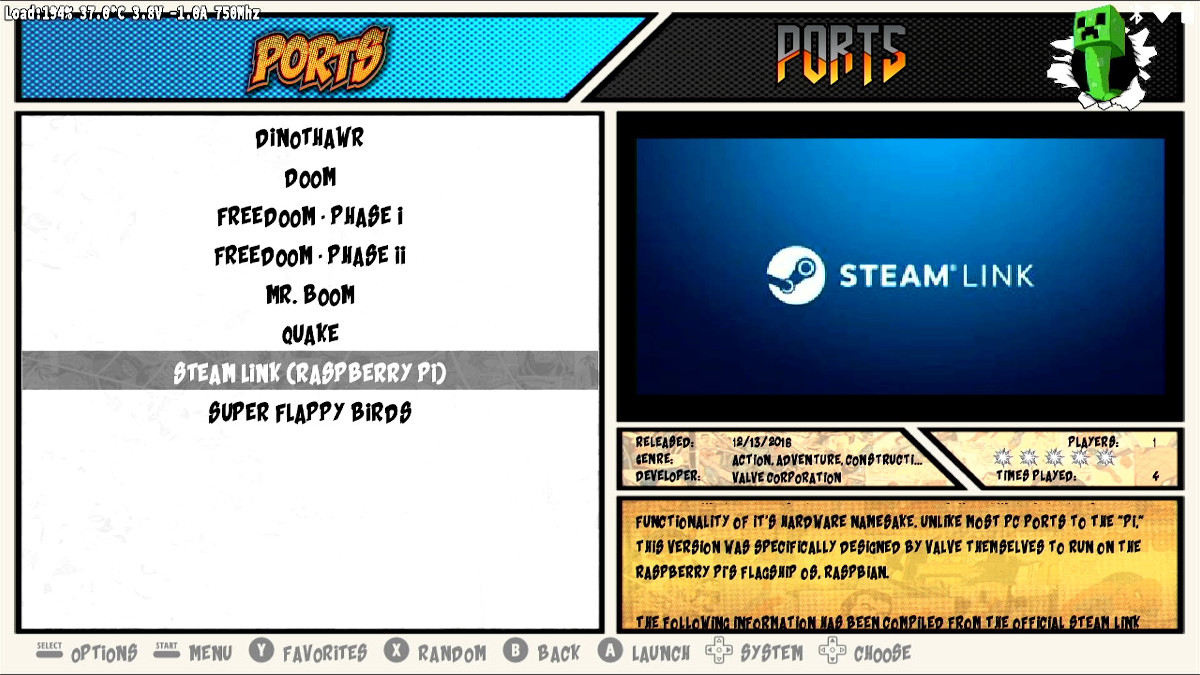
2. If you have flashed our official image to your PiBoy you can open the Steam Link application found under the “Ports” section on the RetroPie home screen. The installer will start and download the application. You may need to connect a USB keyboard to the PiBoy to complete the installation.
Figure 2: The Steam Link installer can be started from the Ports section on our official image.
3. If you have installed a stock RetroPie image you will need to follow the rest of the steps in this section.
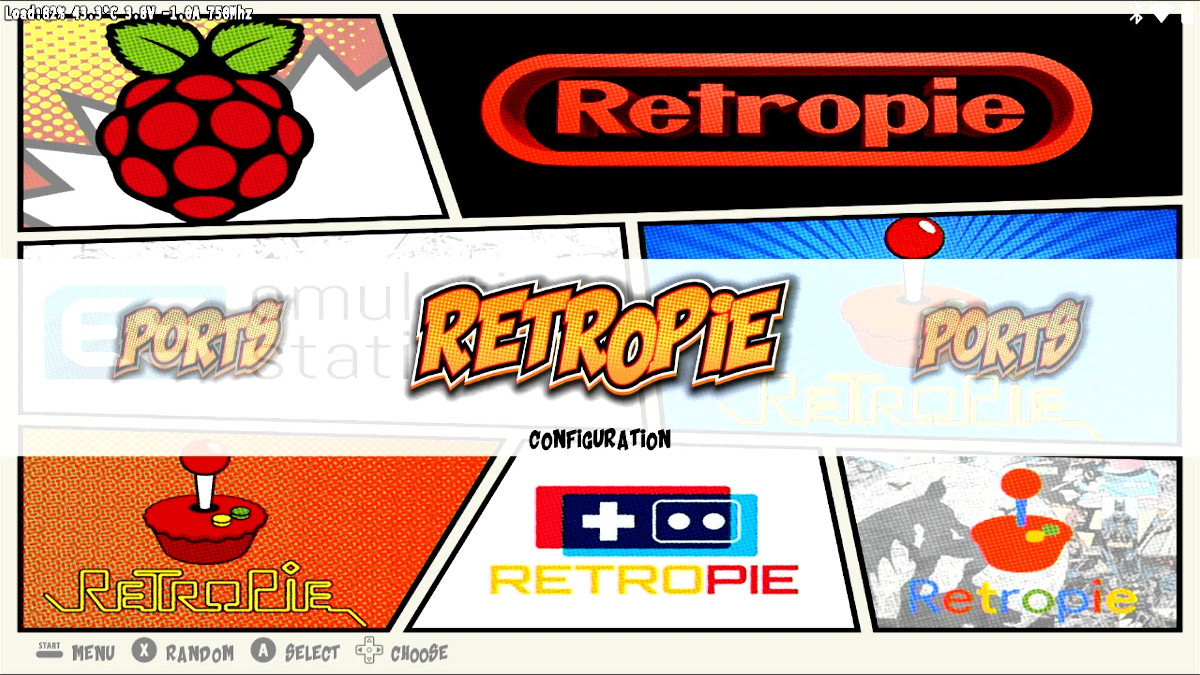
4. Open the “RetroPie” menu from the home screen.
Figure 3: The RetroPie menu option from the home screen.
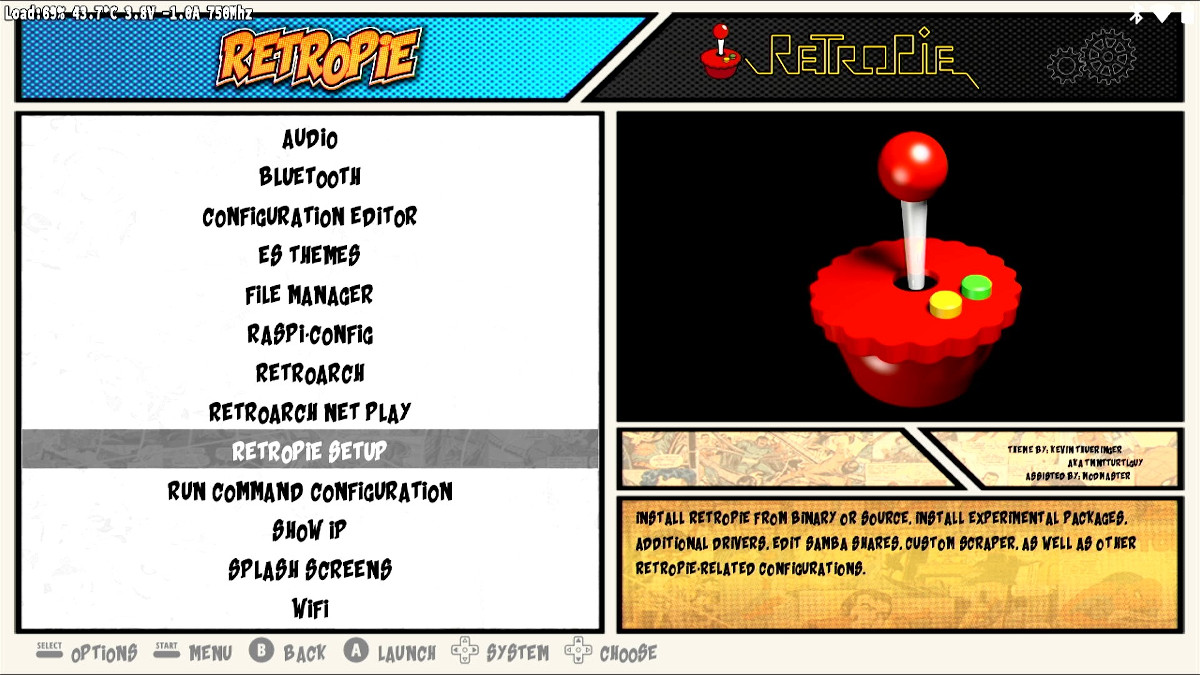
5. Select the “RetroPie Setup” menu option.
Figure 4: Select the “RetroPie Setup” option.
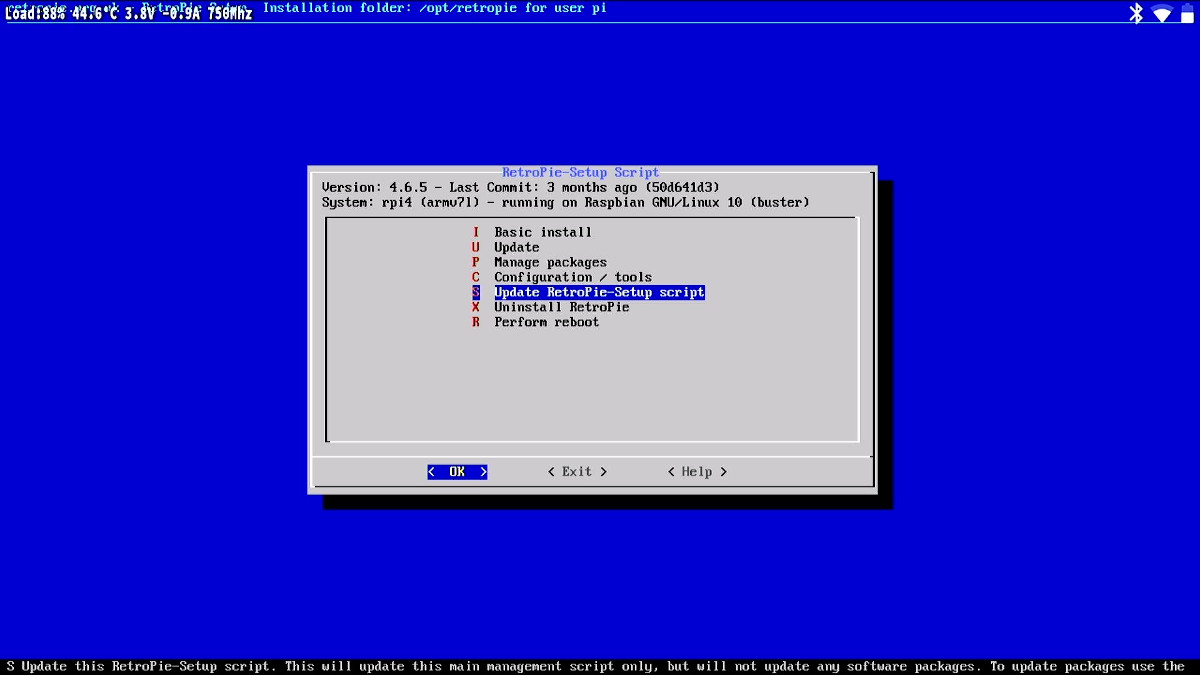
6. Select the “Update RetroPie-Setup script” option.
Figure 5: The menu option to update the RetroPie setup script.
7. Update the setup script.
8. Return to the previous menu and select “Manage Packages”.
Figure 6: Select “manage packages” from this menu.
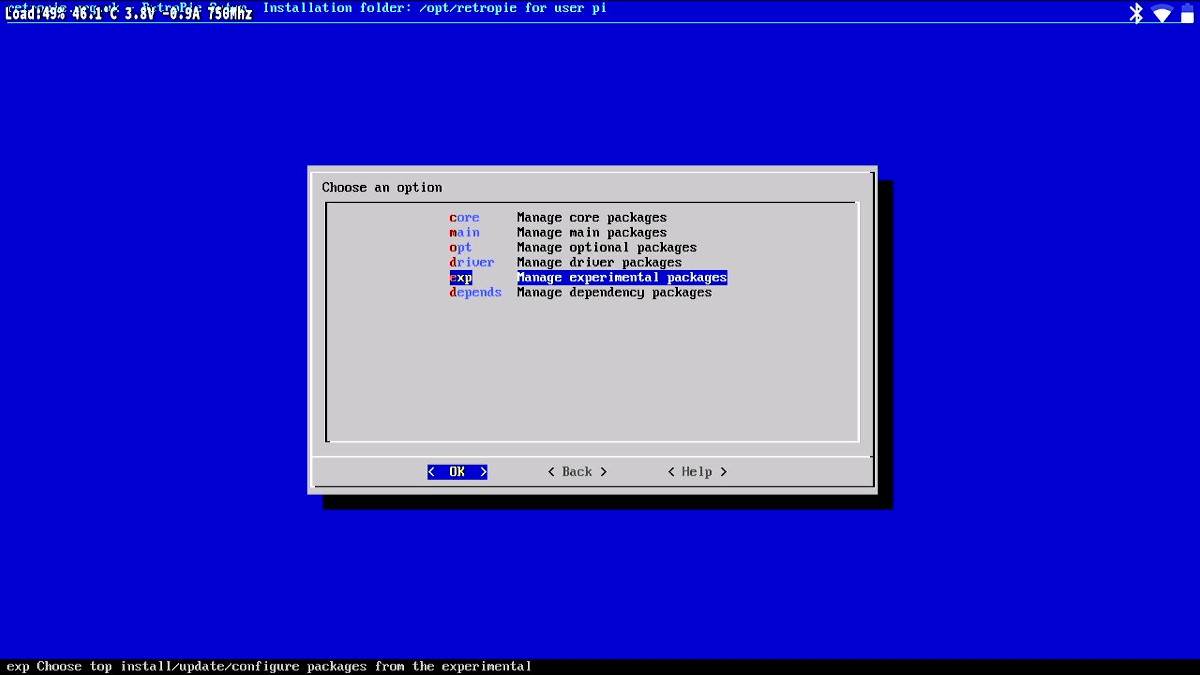
9. Select “Manage Experimental Packages”.
Figure 7: Select this option to manage experimental packages.
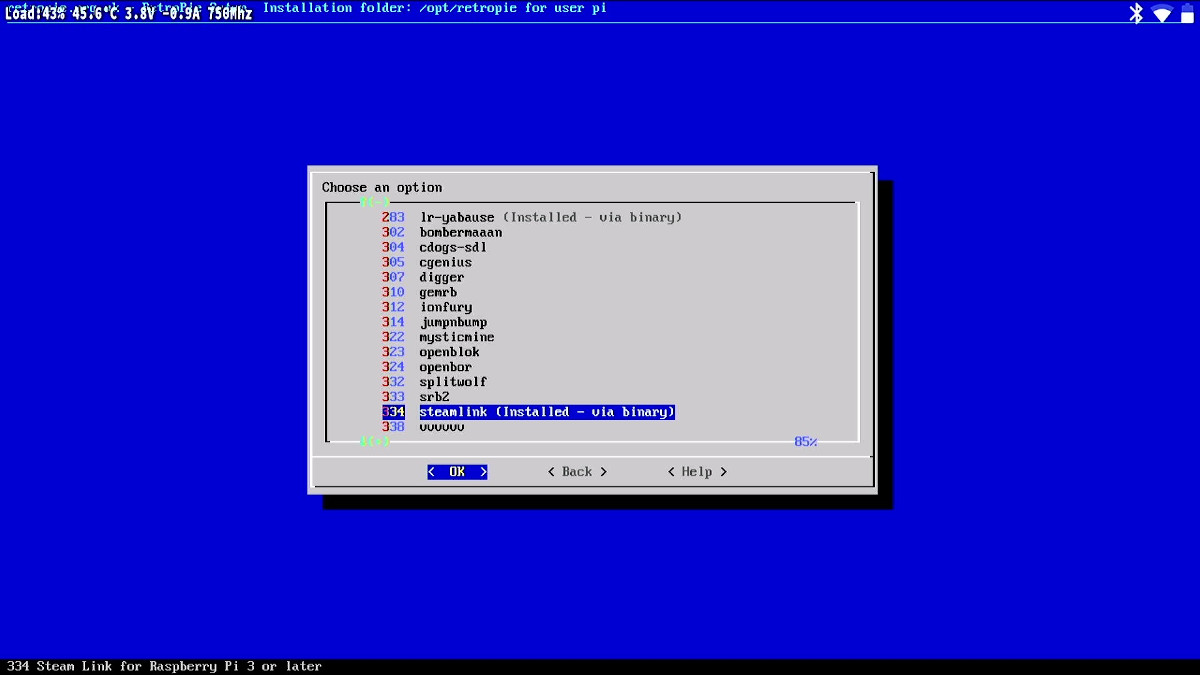
10. Scroll down to the option for “Steamlink” and install it by selecting “OK”.
Figure 8: Install the Steam Link package here.
11. Return to the RetroPie home screen.
11. The Steam Link package is now installed and ready for use. Continue on to the next section of this tutorial.
Configure Computer
1. Open Steam and log in on the computer you’ll be using to host Steam for the PiBoy.
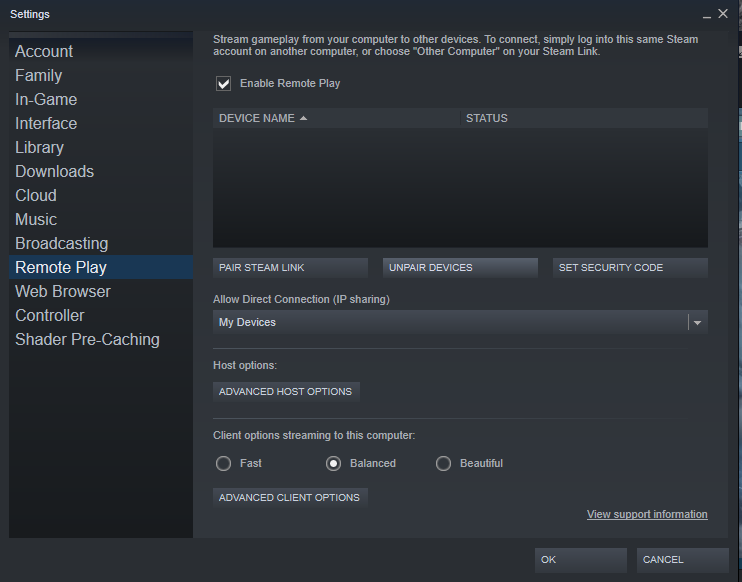
2. From the menu at the top of the application select “Settings” and then “Remote Play”. Check the checkbox labeled “Enable Remote Play”.
Figure 9: Configuring the remote play option in the Steam settings menu.
3. Continue on to the next section to learn how to use Steam Link on the PiBoy.
Using Steam Link on the PiBoy DMG
1. Make sure the computer running Steam is on and that Steam had been started and logged in to.
2. Start the Steam Link application on the PiBoy.
Figure 10: The Steam Link application splash screen on the PiBoy.
3. Steam Link will scan for computers running Steam. Select the one you’d like to connect to.
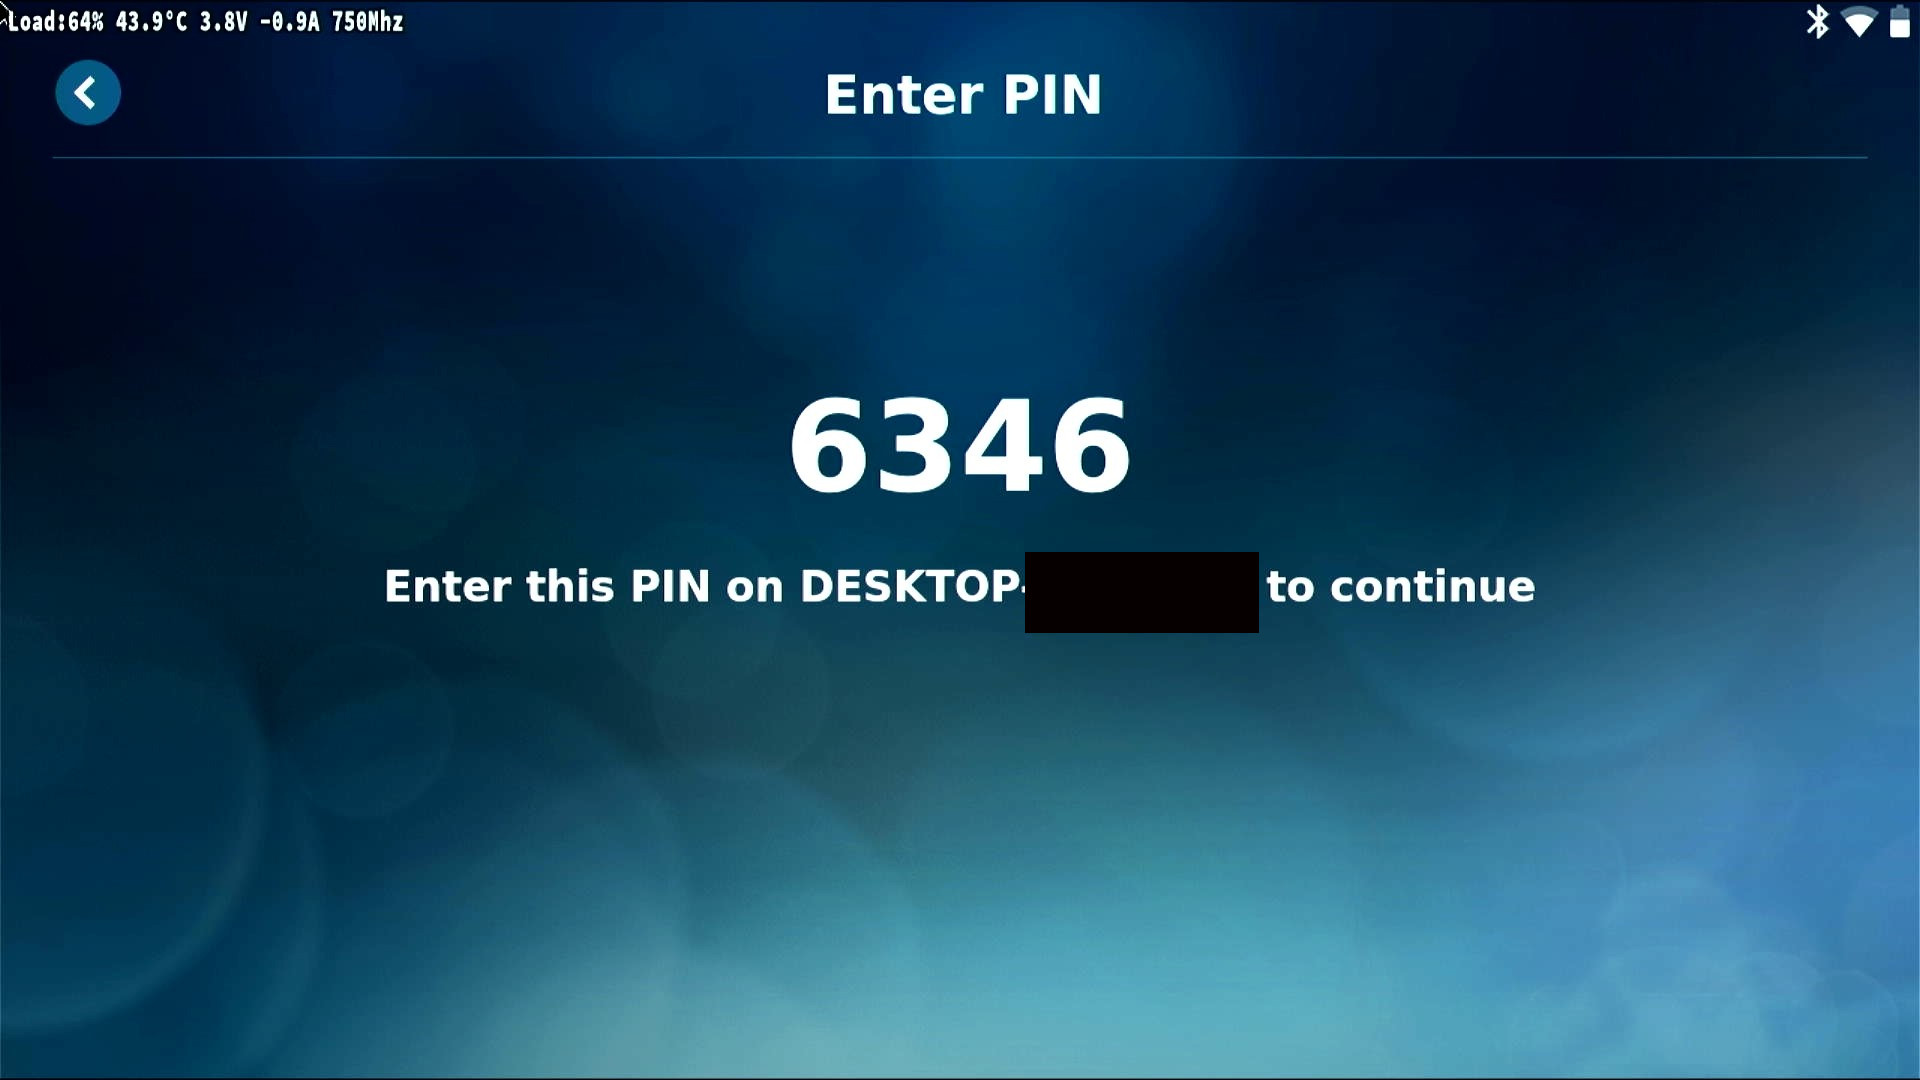
4. The Steam Link application will display a code you need to enter in to the Steam application on the computer hosting Steam.
Figure 11: The Steam Link code that need to be added to the Steam application.
Figure 12: Enter the code on the PiBoy in to the Steam application on your computer.
5. Next, Steam Link will prompt you to map the PiBoy’s controls. You can skip options that aren’t relevant to the PiBoy’s control scheme.
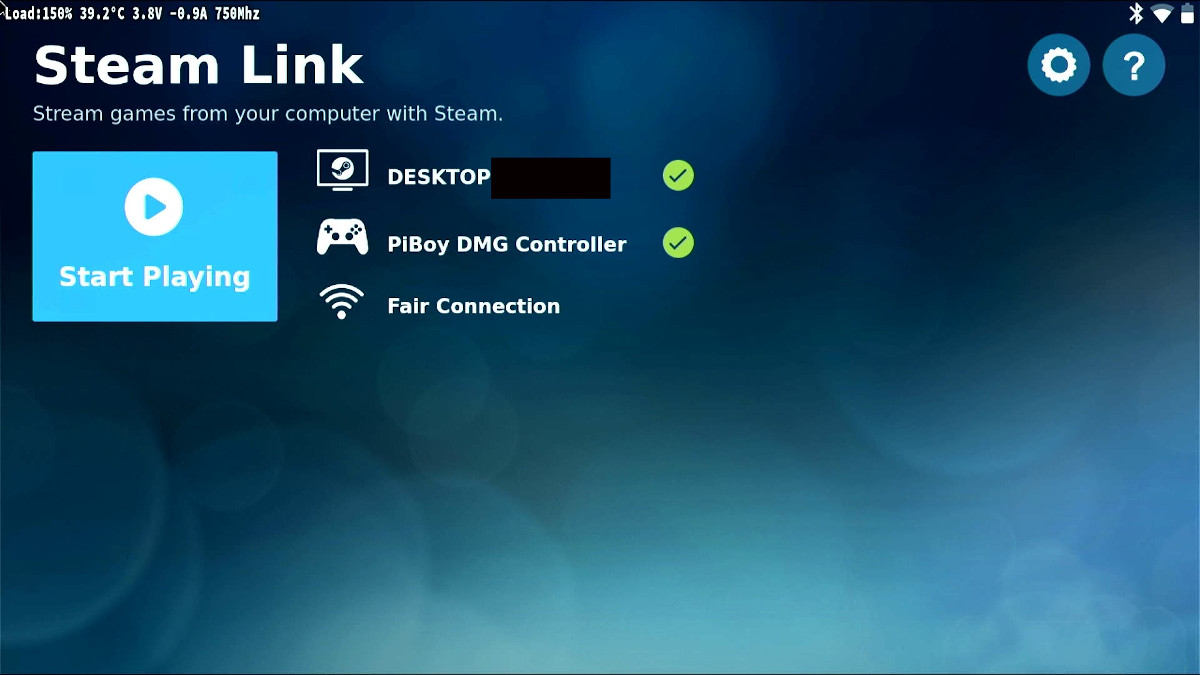
6. Steam Link is now configured and you can begin playing by selecting “Start Playing”.
Figure 13: The Steam Link application is now ready to run all of your favorite computer games.