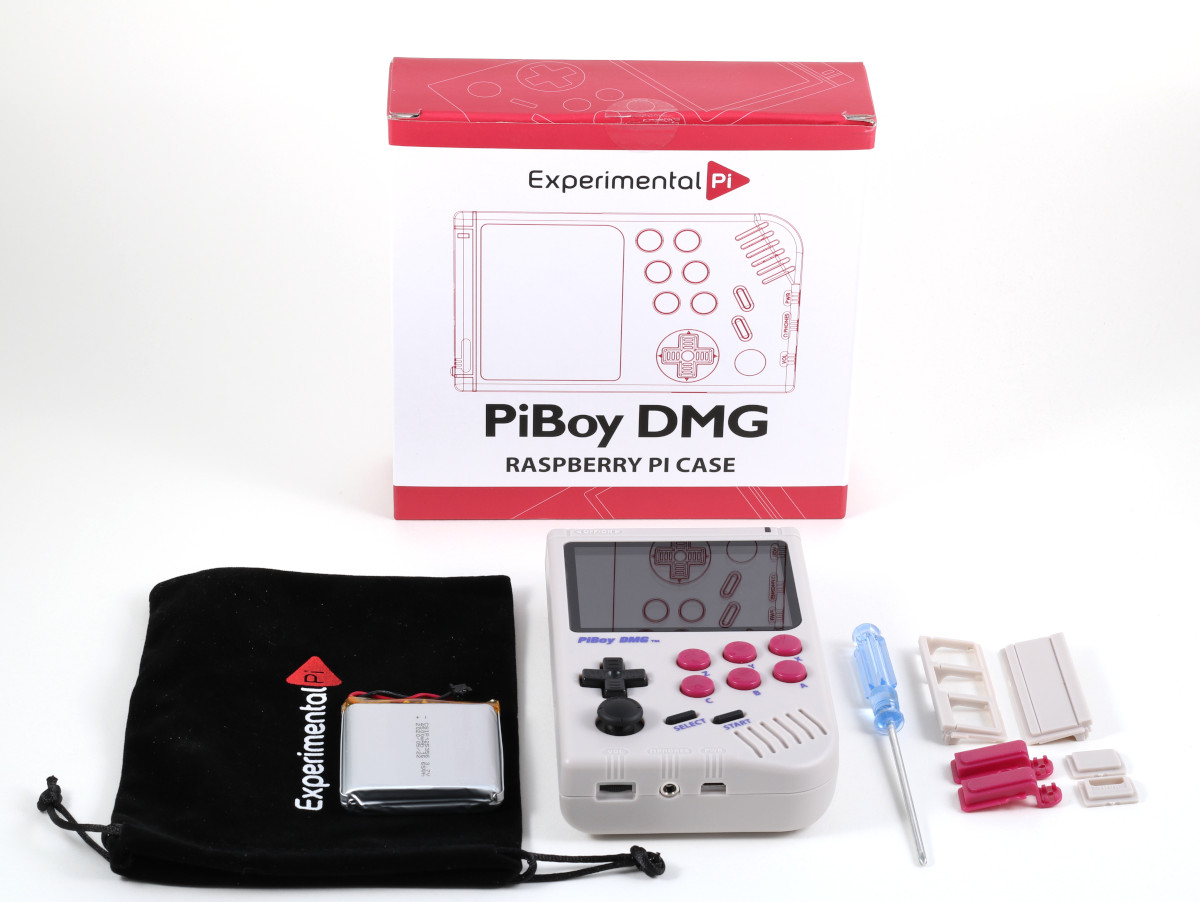
Figure 1: The PiBoy DMG kit.
PiBoy Assembly
Flashing the micro SD Card
Next, you’ll need to flash a micro SD card with an operating system image. Before flashing your image, you’ll want to make sure you have a good quality micro SD card to ensure everything works properly. This article has more info on how to choose an SD card, or how to test one you already have.
We recommend that you use our official image. The image can be downloaded here. Our official image only supports the Pi 4, so if you are using a different version of the Pi, you will need to flash a stock RetroPie image and add our scripts for compatibility.
Once you have downloaded the image, you will need to extract it using a tool like 7zip or WinRAR. For flashing the image, we recommend using Etcher.
Insert your micro SD card into your computer’s card reader – if your computer does not have one built in, you can purchase an external one that connects via USB.
Open Etcher, or the imaging tool of your choice. Select “Flash from file” and browse to the extracted image file. Next, select your SD card as the drive you would like to flash the image to. Finally, click the button that says “Flash!”
Do not remove the SD card until Etcher gives you a notification that the image has been flashed successfully, or you may corrupt the image.
If you have used our image, you can safely eject the SD card from the computer, plug it into your PiBoy, and boot it up. The first time you start the PiBoy after flashing a new image, it will reboot several times and will take a while. Do not turn it off when this is happening, or you risk corrupting the image. If it does not fully boot up after about 5 minutes, check our troubleshooting guide.
NOTE that if you access the files on the card from your mac or windows PC, there is a chance of corrupting the image, in which case you will need to reflash the card. We can not guarantee that the card will boot properly if the files have been tampered with after installation.
If you have not used our provided image, you will need to install our scripts separately before use. More details on creating your own image from scratch can be found here.
Installing Scripts (optional)
If you are using a RetroPie installation that is not our official version you’ll need to install the safe shutdown and OSD scripts we’ve created for the PiBoy.
The scripts are added by a simple tool that you can run on your windows PC. Once you press “Update SD Card,” with the SD card inserted into your computer, it will automatically make the needed changes for the software to run on the PiBoy DMG.
More detailed instructions for installing the scripts can be found here.
